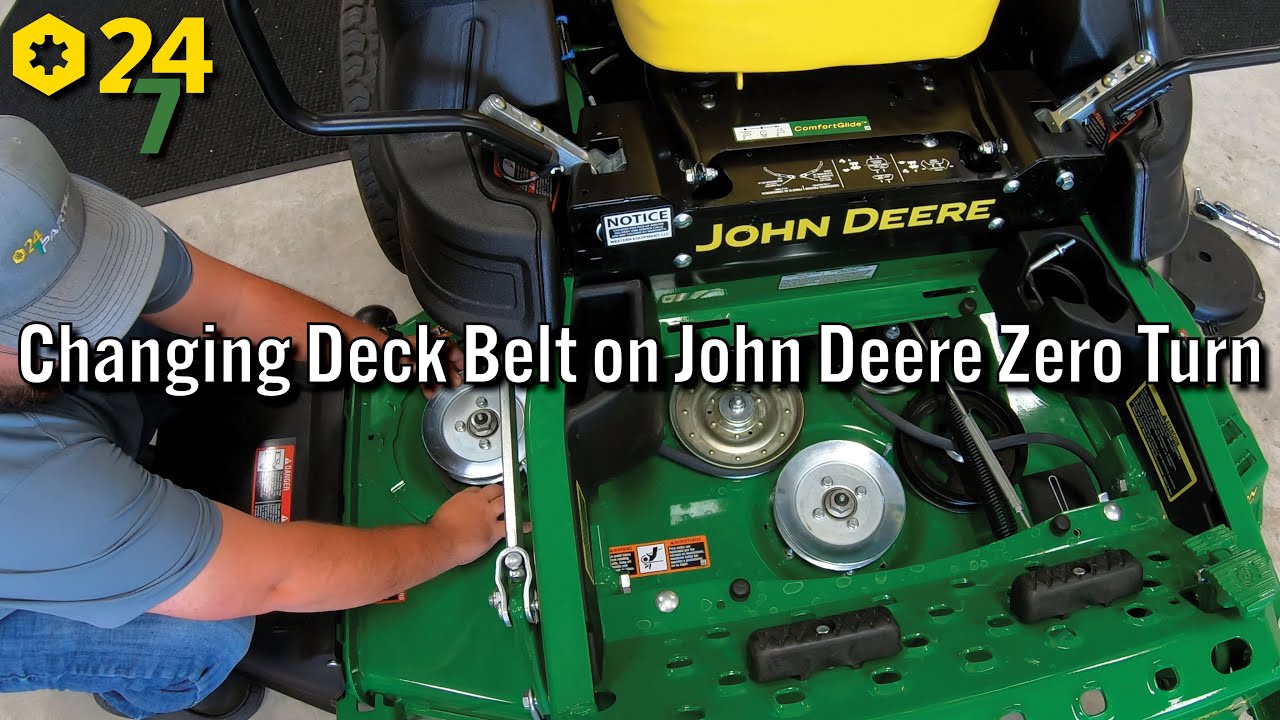
John Deere 60 Inch Mower Deck Belt Diagram
So, you're diving into the world of John Deere 60-inch mower deck maintenance? Excellent! Understanding your mower deck belt system is crucial for efficient operation, troubleshooting, and preventing costly repairs. This article will serve as your go-to guide for deciphering the John Deere 60-inch mower deck belt diagram, empowering you to tackle maintenance tasks with confidence.
Purpose of Understanding the Belt Diagram
Why bother with a diagram? Simple: it's the roadmap to your mower deck's belt system. The diagram's purpose is multi-faceted:
- Repair and Replacement: Knowing the precise belt routing is essential when replacing a worn or broken belt. Incorrect routing can lead to belt slippage, premature wear, and even damage to the deck components.
- Troubleshooting: When your mower deck isn't performing optimally – perhaps the blades aren't turning properly or you hear unusual noises – the diagram helps you trace the belt path, identify potential issues like misaligned pulleys, and pinpoint the root cause.
- Preventative Maintenance: Regular inspection of the belt and pulleys is vital. The diagram aids in identifying the locations of key components for lubrication or visual inspection.
- Learning & Understanding: If you're the type who likes to understand how things work, the diagram provides a visual representation of the power transmission system within your mower deck.
Key Specs and Main Parts
Let's break down the core components you'll encounter in a typical John Deere 60-inch mower deck and their associated specifications. Keep in mind that specific models may have slight variations, so always consult your mower's manual for the most accurate information. Always refer to your specific model's manual for precise torque specs and part numbers!
Main Components:
- Mower Deck Shell: The outer housing that encloses all the components. Usually stamped steel, subject to rust and damage from impacts.
- Spindles: These are the vertical shafts that hold the blades. They rotate within housings (spindle housings) containing bearings. The belt drives these spindles.
- Blades: The cutting edges of the mower. Different blade types (high-lift, mulching) exist, each designed for specific cutting performance.
- Pulleys: Grooved wheels that the belt rides on. Different sizes and types of pulleys (flat idler, grooved drive) are used to transmit power and maintain belt tension.
- Drive Pulley: Connected to the engine's PTO (Power Take-Off) shaft. This is where the engine's power enters the deck system.
- Spindle Pulleys: Attached to the spindles, these pulleys receive the belt's power and rotate the blades.
- Idler Pulley(s): Used to maintain proper belt tension and guide the belt around the other pulleys. These can be spring-loaded to provide automatic tensioning.
- Belt: The heart of the system. Typically a reinforced rubber V-belt designed to transmit power from the drive pulley to the spindle pulleys. The "V" shape provides grip within the pulley grooves.
- Tension Spring: Provides the force to maintain proper belt tension on the idler pulley.
- Belt Guides/Keepers: Metal tabs or brackets that prevent the belt from coming off the pulleys.
Key Specs (Typical):
- Belt Length: Varies depending on the model but is usually in the range of 140-160 inches. This is *critical* for proper operation. Use the exact OEM (Original Equipment Manufacturer) belt or a high-quality aftermarket equivalent that matches the specified length and cross-section.
- Belt Width: Typically 1/2" or 5/8".
- Blade Length: Around 21 inches per blade, three blades total for the 60" deck.
- Spindle Bearing Type: Usually sealed ball bearings. Greaseable bearings might be present on older models.
Symbols and Diagram Interpretation
Understanding the symbols used in the belt diagram is essential for accurate interpretation. Here's a breakdown of common elements:
- Solid Lines: Represent the belt itself. The thickness of the line might indicate the belt's location (e.g., thicker line for the primary drive belt).
- Dashed Lines: Can indicate hidden parts or alternative belt routings (though less common).
- Circles or Ovals: Represent pulleys. The diagram might differentiate between drive pulleys and idler pulleys. Sometimes, an arrow will indicate the direction of rotation.
- Arrows: Indicate the direction of belt travel. Pay close attention to these! Incorrect direction leads to immediate problems.
- Rectangles or Squares: Usually represent the mower deck frame or other structural components.
- Spring Symbol: Indicates the location of the tension spring.
Color coding, while not universally present, can also provide valuable information. For example, a different color might highlight the section of the belt under tension. However, always refer to the diagram's legend or key for specific color interpretations.
How It Works: Power Transmission
The John Deere 60-inch mower deck belt system is a relatively simple but effective power transmission system. The engine's PTO shaft (Power Take-Off) provides rotational power to the drive pulley on the mower deck. This drive pulley then turns the belt. The belt, following a specific route guided by the idler pulley(s), transfers this rotational force to the spindle pulleys. Each spindle pulley is connected to a spindle, which in turn rotates the blade. Thus, the engine's power is ultimately used to spin the blades and cut the grass.
The idler pulley's primary function is to maintain proper belt tension. The tension spring applies force to the idler pulley arm, pressing the pulley against the belt. This tension ensures that the belt has sufficient grip on the pulleys, preventing slippage and maximizing power transfer.
Real-World Use: Basic Troubleshooting
Here are some common issues you might encounter and how the belt diagram can help:
- Belt Slippage: If the blades aren't spinning properly, the belt might be slipping. Use the diagram to check the belt tension. Is the idler pulley moving freely? Is the tension spring intact and providing adequate force? Also, inspect the belt itself for signs of wear (cracks, fraying, glazing).
- Belt Coming Off Pulleys: This usually indicates a misalignment issue. Carefully compare the belt routing with the diagram. Are all the pulleys aligned correctly? Are the belt guides in place and preventing the belt from jumping off? A bent pulley or spindle can cause this.
- Unusual Noises: Squealing or grinding noises can indicate worn bearings in the spindles or idler pulley. The diagram helps you locate these components for inspection and lubrication (if applicable). A loose belt will also squeal.
- Uneven Cut: While not always belt-related, an uneven cut can sometimes be caused by a slipping belt on one of the spindles. Check the belt tension and condition, comparing it to the other spindle belts (if applicable). Also, verify that all blades are properly sharpened and balanced.
Safety: Risky Components
Working on a mower deck can be dangerous. Always disconnect the spark plug wire(s) and engage the parking brake before performing any maintenance.
- Rotating Blades: The blades are incredibly sharp and dangerous. Never handle them without wearing heavy gloves. Always ensure they are stationary before working near them.
- Tension Spring: The tension spring stores a significant amount of energy. When removing it, use appropriate tools to relieve the tension gradually and safely. A spring hook is invaluable here. Never release the spring without proper control.
- Pulleys: Keep fingers and loose clothing away from rotating pulleys. Even when the engine is off, the pulleys can still rotate due to momentum.
Never work under a mower deck supported only by a jack. Always use jack stands for secure support.
By understanding the John Deere 60-inch mower deck belt diagram, you're well-equipped to perform essential maintenance, troubleshoot common issues, and keep your mower running smoothly for years to come. Remember to always consult your mower's specific manual for the most accurate information and safety guidelines.
We have the file of the diagram mentioned in this article and it's available for you to download. You can use it to help you with your repairs.