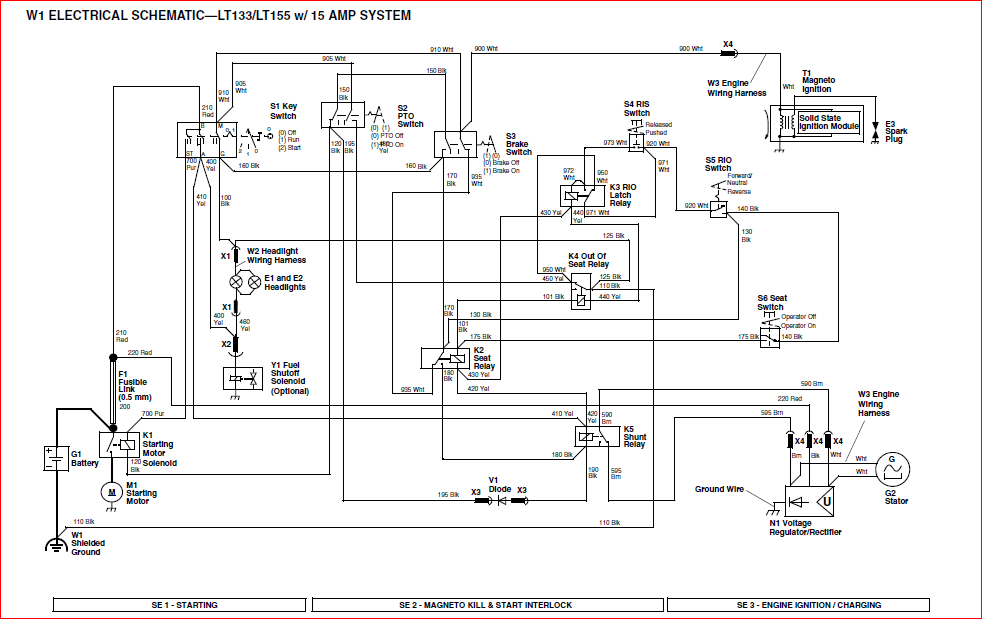
John Deere Starter Solenoid Wiring Diagram
Let's dive into the world of John Deere starter solenoid wiring diagrams. Whether you're troubleshooting a no-start issue, performing routine maintenance, or even undertaking a custom modification on your John Deere equipment, understanding the solenoid wiring is absolutely crucial. This article will provide a detailed, yet approachable, guide to help you navigate and interpret these diagrams, equipping you with the knowledge to tackle common electrical problems confidently.
Purpose of Understanding the Wiring Diagram
Why bother with a wiring diagram? Quite simply, it's your roadmap for the electrical system. It's essential for:
- Troubleshooting: Pinpointing faulty components and wiring breaks.
- Repairing: Ensuring correct connections when replacing parts.
- Modifying: Safely adding aftermarket accessories.
- Understanding: Gaining a deeper knowledge of your John Deere's electrical system.
Without the correct diagram, you're essentially working blind. You risk causing further damage, or worse, creating a dangerous electrical situation.
Key Specs and Main Parts
Before we dissect the diagram itself, let's familiarize ourselves with the key components involved in the starting circuit:
- Battery: Provides the initial electrical power. Look for the voltage (usually 12V or 24V) and Cold Cranking Amps (CCA) rating.
- Ignition Switch: Activates the starting sequence when you turn the key.
- Starter Solenoid: This is an electromagnetic switch. When energized, it closes a high-current circuit to engage the starter motor.
- Starter Motor: The workhorse that cranks the engine.
- Ground Connection: Provides the return path for the electrical current to the battery. Ensure it is clean and tightly secured to the frame.
- Fuses/Circuit Breakers: Protection devices that prevent damage from overcurrent.
The solenoid itself is often a cylindrical component with several terminals. Typically, you'll find a large terminal connected directly to the battery positive (+) and another large terminal connected to the starter motor. Smaller terminals are used for the control circuit coming from the ignition switch.
Decoding the Symbols: Lines, Colors, and Icons
A wiring diagram is essentially a symbolic representation of the electrical circuit. Understanding these symbols is key to interpreting the diagram accurately:
- Lines: Represent wires. Thicker lines often indicate wires carrying higher current. Dashed lines may represent ground wires.
- Colors: Each wire has a color code (e.g., Red, Black, Yellow). The diagram legend will tell you what each color signifies. Using the correct color wire when replacing is important; while not always critical, it aids in future troubleshooting.
- Icons:
- Battery: Represented by alternating long and short parallel lines. Often labeled with "+" and "-".
- Ignition Switch: Shown as a switch with different positions (OFF, ON, START).
- Solenoid: Represented by a coil symbol and a switch.
- Starter Motor: Shown as a circle with an "M" inside, sometimes with gears depicted.
- Ground: Represented by a series of decreasing horizontal lines, indicating a connection to the chassis or engine block.
- Fuse: Represented by a zig-zag line inside a rectangle or circle.
- Circuit Breaker: Similar to a fuse, but sometimes with a reset button symbol.
Pay close attention to the abbreviations used on the diagram. Common abbreviations include:
- GND: Ground
- BAT: Battery
- ST: Starter
- IGN: Ignition
How It Works: The Starting Sequence
Let's break down how the starting circuit functions based on the wiring diagram:
- Key Turn: When you turn the ignition switch to the "START" position, it sends a low-current signal to the solenoid's control terminal.
- Solenoid Activation: The solenoid's internal coil energizes, creating an electromagnetic field. This field pulls a plunger, closing the high-current contacts inside the solenoid.
- Starter Engagement: Closing the solenoid contacts completes the high-current circuit between the battery and the starter motor. The starter motor then spins, engaging with the flywheel and cranking the engine.
- Engine Start: Once the engine starts, you release the key back to the "ON" position, breaking the signal to the solenoid. The solenoid disengages, stopping the starter motor.
This entire process happens in a matter of seconds, but understanding the sequence is critical for troubleshooting issues.
Real-World Use: Basic Troubleshooting Tips
Here are some common troubleshooting scenarios related to the starter solenoid wiring, and how the diagram can help:
- No Crank: Engine doesn't turn over when you turn the key.
- Check the Battery: Use a multimeter to ensure the battery has sufficient voltage (usually 12.6V or higher when fully charged).
- Check the Solenoid: Use a multimeter to test for voltage at the solenoid's control terminal when the key is in the "START" position. If no voltage is present, the issue could be with the ignition switch or the wiring between the switch and the solenoid.
- Check the Ground: Ensure the ground connection from the battery to the frame and the engine block is clean and secure. Corrosion can impede the flow of current.
- Clicking Sound: You hear a clicking sound from the solenoid, but the engine doesn't crank.
- Low Battery Voltage: The solenoid may not have enough power to fully engage. Check the battery voltage.
- Faulty Solenoid: The solenoid contacts may be worn or damaged. Replace the solenoid.
- Poor Connections: Check all connections in the starting circuit for corrosion or loose connections.
- Starter Stays Engaged: The starter continues to run even after you release the key.
- Sticking Solenoid: The solenoid contacts may be welded together or the plunger is sticking. Replace the solenoid immediately to prevent damage to the starter motor.
Remember to always refer to the wiring diagram specific to your John Deere model for accurate troubleshooting.
Safety First! Highlight Risky Components
Working with electrical systems can be dangerous. Here are some crucial safety precautions:
- Disconnect the Battery: Always disconnect the negative (-) battery terminal before working on the electrical system. This prevents accidental short circuits.
- High-Current Components: Be extremely cautious when working near the battery terminals and the starter solenoid. These components carry high currents that can cause severe burns or electrical shock.
- Short Circuits: Avoid creating short circuits. A short circuit can cause wires to overheat and melt, potentially starting a fire. Double-check your work before reconnecting the battery.
- Use Proper Tools: Use insulated tools designed for electrical work.
If you are not comfortable working with electrical systems, consult a qualified mechanic.
We have wiring diagrams available in a variety of formats for download. You can access the diagram specific to your model by contacting us or checking our online resource library. This information will be invaluable for completing any maintenance or repair successfully.