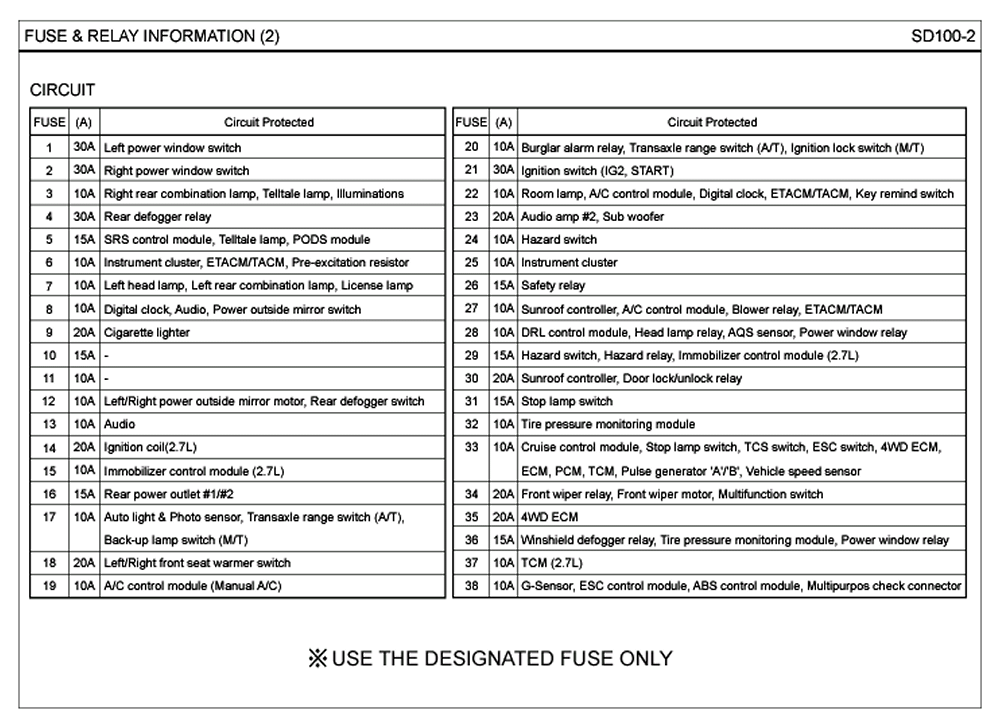
Layout 2007 Chrysler 300 Fuse Box Diagram
Alright, let's dive into the 2007 Chrysler 300 fuse box diagram. This isn't just some pretty picture; it's your roadmap to electrical troubleshooting and a key component for any DIY repairs or modifications you might be planning. Think of it as your electrical system's legend, guiding you through the labyrinth of circuits and components.
Purpose and Importance
Why bother with a fuse box diagram? Simple. Electrical problems can manifest in countless ways: a dead radio, non-functional power windows, a car that won't start. Without a diagram, you're essentially poking around in the dark, hoping to stumble upon the solution. The diagram provides a clear, structured representation of each fuse's purpose, its amperage rating, and its physical location within the fuse box. This is invaluable for:
- Troubleshooting: Identifying blown fuses is the first step in diagnosing many electrical issues. The diagram tells you exactly which fuse to check for a specific circuit.
- Repairs: Replacing a blown fuse is often the simplest solution, but you need to ensure you're replacing it with the correct amperage.
- Modifications: Adding aftermarket accessories (lights, stereos, etc.) requires understanding the existing circuits and tapping into them safely. The diagram helps you identify suitable points for connection and proper fuse sizing to prevent overloads.
- General Understanding: Even if you're not currently experiencing problems, studying the diagram gives you a better grasp of your car's electrical system.
Key Specs and Main Parts
The 2007 Chrysler 300 typically has at least two fuse boxes: one located under the hood (the Power Distribution Center, or PDC) and another inside the cabin, usually on the driver's side. Some models might have a third one in the trunk. We'll focus primarily on the PDC, as it handles many of the critical vehicle functions. Here’s a breakdown of what you'll find:
- Fuse Box Housing: The physical container holding all the fuses and relays.
- Fuses: These are the sacrificial elements of the circuit. They are designed to melt and break the circuit if the current exceeds a safe level, protecting more expensive components. They are rated in amperes (amps or A), which indicates the maximum current they can handle.
- Relays: These are electromechanical switches that control high-current circuits using a low-current signal. They allow the car's computer to control powerful components like the starter motor, fuel pump, or headlights.
- Circuit Breakers: Like fuses, they protect circuits from overcurrent. However, instead of melting, they trip and can be reset. They're typically used for circuits that might experience temporary overloads.
- Jumpers: Some fuse boxes contain jumper wires or connectors that bridge electrical connections. These allow for different configurations or options depending on the vehicle's equipment.
- Diagram Label: The diagram is usually printed on the inside of the fuse box cover or in the owner's manual. This is your key to understanding the location and function of each fuse and relay.
Symbols: Lines, Colors, and Icons
Understanding the symbols on the fuse box diagram is crucial for interpreting it correctly. Here's a breakdown of common conventions:
- Lines: Lines represent electrical wires or circuits. Thicker lines often indicate higher current capacity.
- Colors: Wire colors are often indicated next to the lines, using abbreviations (e.g., RD for Red, BLK for Black, GRN for Green). Understanding wire colors helps trace circuits in the vehicle.
- Icons: These represent the component protected by the fuse or relay. Common icons include:
- Headlight symbol: Indicates the headlight circuit.
- Fan symbol: Indicates the cooling fan circuit.
- Horn symbol: Indicates the horn circuit.
- Radio symbol: Indicates the radio circuit.
- Window symbol: Indicates the power window circuit.
- Engine symbol: May indicate circuits related to engine management.
- Numbers: Numbers on the diagram refer to specific fuse or relay locations. These numbers are usually molded into the fuse box itself.
- Amperage Ratings: Each fuse location is labeled with a number and the amperage rating of the fuse that should be installed there (e.g., 20A). Never use a fuse with a higher amperage rating than specified, as this can lead to overheating and fire.
How It Works: A Simple Circuit
Let's imagine a simplified circuit: the cigarette lighter/power outlet. The circuit typically consists of:
- Power Source: The car's battery.
- Wiring: Conductors to carry the current.
- Fuse: Protection against overcurrent.
- Switch: To turn the circuit on and off (though the lighter socket is always "on").
- Load: The cigarette lighter/power outlet itself.
When you plug something into the cigarette lighter, you're completing the circuit, allowing current to flow from the battery, through the fuse, through the wiring, and into the device. If the device draws too much current (e.g., a short circuit), the fuse will blow, breaking the circuit and preventing damage to the wiring and other components.
Real-World Use: Basic Troubleshooting Tips
Here’s how to use the fuse box diagram for troubleshooting:
- Identify the Symptom: What isn't working? (e.g., the radio, the headlights, the power windows).
- Consult the Diagram: Locate the fuse or relay associated with the affected component on the fuse box diagram. The owner's manual is also helpful.
- Inspect the Fuse: Visually inspect the fuse. If the small wire inside is broken or blackened, the fuse is blown. You can also use a multimeter set to continuity to test the fuse. A good fuse will show continuity (a beep or a reading of 0 ohms).
- Replace the Fuse: Replace the blown fuse with a new fuse of the exact same amperage rating.
- Test the Circuit: Turn on the component. If it works, you've solved the problem. If the fuse blows again immediately, there's likely a short circuit in the wiring or the component itself. This requires further investigation, potentially by a professional.
- Check Relays: If replacing the fuse doesn't solve the problem, the relay might be faulty. You can often swap a relay with another identical relay to see if that fixes the issue.
Safety: Risky Components
Working with electrical systems involves inherent risks. Here are some key safety precautions:
- Disconnect the Battery: Before working on any electrical components, disconnect the negative battery terminal. This prevents accidental short circuits.
- Use the Right Tools: Use insulated tools designed for automotive electrical work.
- Never Bypass a Fuse: Never replace a fuse with a wire or a fuse of a higher amperage rating. This can cause serious damage and potentially a fire.
- Be Careful with Airbags: Some circuits, especially those related to the airbag system, are extremely sensitive. Consult a professional before working on these circuits.
- Don't Work in Wet Conditions: Avoid working on electrical systems in wet conditions.
- Proper Ventilation: When working on the car, make sure to have proper ventilation to prevent carbon monoxide poisoning.
The Power Distribution Center (PDC) often contains fuses and relays that directly connect to the battery. Shorting these out can cause significant sparks and potential damage. The fuel pump relay, for example, controls a critical component and should be handled with care.
This information provides a solid foundation for understanding and using the 2007 Chrysler 300 fuse box diagram. Remember, safety is paramount. If you're unsure about any aspect of the electrical system, consult a qualified mechanic. Electrical problems can be complex and potentially dangerous, so it's always better to err on the side of caution.
We have a detailed, high-resolution PDF of the 2007 Chrysler 300 fuse box diagram available for download. This diagram includes a comprehensive listing of all fuses, relays, and their corresponding functions. You can download it [link to downloadable diagram]. This resource will be invaluable for your troubleshooting and repair endeavors.