Nissan Rogue 2017 Fuse Box Diagram
For the experienced DIYer tackling electrical repairs or modifications on their 2017 Nissan Rogue, understanding the fuse box diagram is absolutely essential. This guide dives deep into the specifics of the 2017 Rogue's fuse box, providing the knowledge you need to diagnose problems, replace blown fuses, and even safely add aftermarket accessories. We'll break down the diagram, explain the symbols, and offer practical troubleshooting tips. And remember, we've got the complete diagram available for download to make your work even easier.
Purpose: Why You Need to Understand the Fuse Box Diagram
The fuse box diagram isn't just a pretty picture; it's your roadmap to the Rogue's electrical system. Here's why it's so important:
- Troubleshooting Electrical Issues: When a component stops working (like your radio, headlights, or power windows), a blown fuse is often the culprit. The diagram helps you pinpoint the correct fuse to check.
- Performing Repairs: Before working on any electrical system component, you need to disconnect the power supply. The diagram allows you to identify the correct fuse to remove, isolating the circuit you're working on.
- Adding Aftermarket Accessories: Planning to install a new stereo, lighting, or any other electrically powered device? The diagram helps you identify suitable circuits to tap into, ensuring you don't overload existing circuits and cause damage. Always consult a professional if you are unsure of your ability to properly wire new components.
- General Understanding of Your Vehicle: Even if you're not actively repairing something, understanding the fuse box diagram gives you a better overall grasp of how your Rogue's electrical systems are organized.
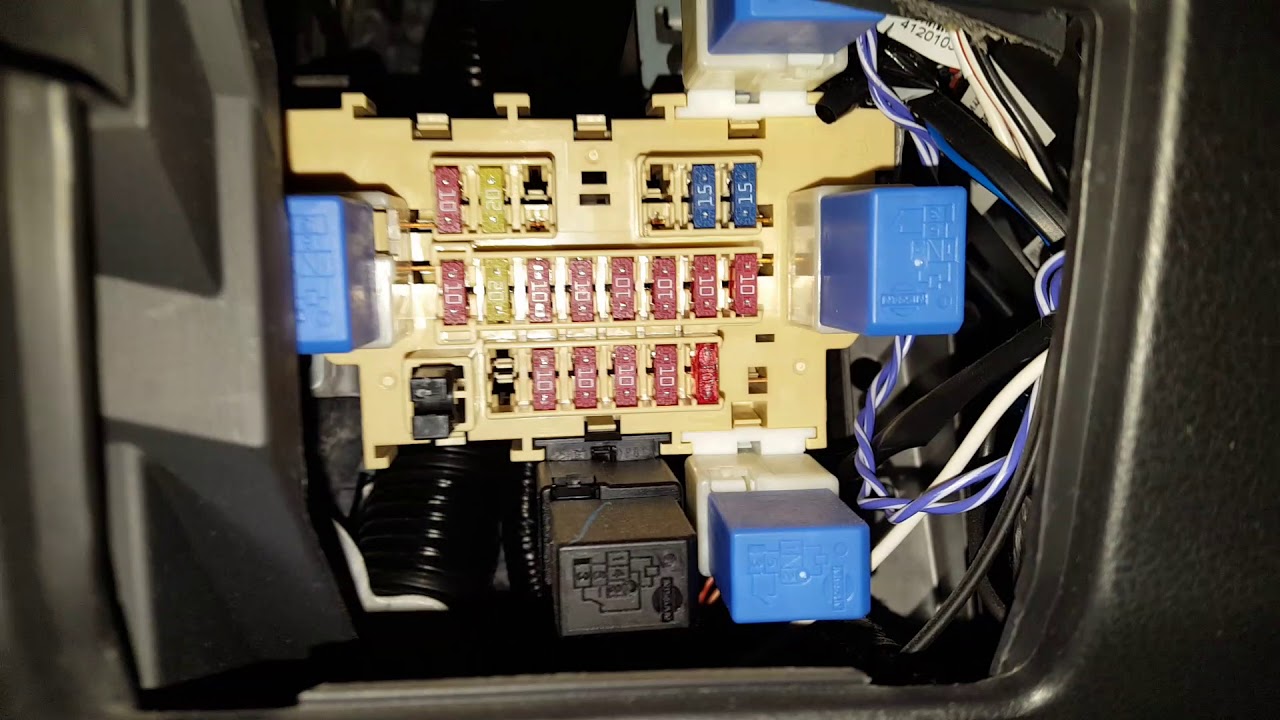
Key Specs and Main Parts of the 2017 Nissan Rogue Fuse System
The 2017 Nissan Rogue typically has two main fuse boxes:
- The Interior Fuse Box: Located inside the cabin, usually under the dashboard on the driver's side. This fuse box primarily protects circuits for interior components like the infotainment system, power windows, lights, and climate control.
- The Engine Compartment Fuse Box: Found under the hood, near the engine. This fuse box protects circuits for critical engine management systems, headlights, windshield wipers, and other exterior functions.
Key Specs: Fuse ratings are measured in amperes (amps). The fuse rating indicates the maximum current the fuse can handle before it blows and breaks the circuit. Common fuse ratings in the Rogue include 5A, 7.5A, 10A, 15A, 20A, 25A, and 30A. Using a fuse with a higher amperage than specified can damage the circuit and its components.
Decoding the Fuse Box Diagram: Symbols, Lines, and Colors
The fuse box diagram is a schematic representation of the fuse layout. Understanding the symbols is crucial for accurate troubleshooting.
- Fuse Symbol: Typically represented by a rectangle or a straight line with a wavy line through it.
- Circuit Identification: Each fuse is labeled with a number or a code that corresponds to a specific circuit. The diagram will provide a legend that maps these numbers to the corresponding component (e.g., "15A - Radio," "10A - Headlights").
- Ampere Rating: Next to each fuse symbol, you'll find the fuse's amperage rating (e.g., "10A").
- Wire Colors (Sometimes): More detailed diagrams may indicate the wire colors associated with each circuit. This can be helpful when tracing wires for more complex repairs.
- Ground Symbols: Often depicted as a series of horizontal lines decreasing in length, ground symbols indicate a connection to the vehicle's chassis ground.
- Relays: Relays are switches that use a small current to control a larger current. They are represented by a square or rectangle with connections indicated by lines. The diagram will tell you what component each relay controls.
Diagram Layout: The diagram is usually laid out to mimic the physical arrangement of the fuses in the fuse box. This makes it easier to locate the correct fuse.
How It Works: The Fuse as a Circuit Protector
A fuse is a sacrificial device designed to protect an electrical circuit from overcurrent. It contains a thin wire or strip of metal that melts and breaks the circuit when the current exceeds the fuse's rating.
- Normal Operation: When the electrical circuit is operating normally, current flows through the fuse without interruption.
- Overcurrent Condition: If a fault occurs in the circuit (e.g., a short circuit), the current increases rapidly.
- Fuse Blows: The increased current heats the fuse element until it melts, opening the circuit and stopping the flow of electricity. This prevents damage to the wiring and components in the circuit.
Real-World Use: Basic Troubleshooting Tips
Here’s a simplified troubleshooting process using the fuse box diagram:
- Identify the Problem: Determine which component isn't working (e.g., the turn signals).
- Consult the Diagram: Locate the fuse associated with the malfunctioning component in the fuse box diagram. Make sure you use the correct diagram for either the interior or engine compartment fuse box depending on the component.
- Locate the Fuse: Find the corresponding fuse in the actual fuse box.
- Inspect the Fuse: Visually inspect the fuse. If the metal strip inside is broken or blackened, the fuse is blown.
- Test the Fuse (Optional): For a more accurate test, use a multimeter to check for continuity across the fuse terminals. A blown fuse will have no continuity.
- Replace the Fuse: Replace the blown fuse with a new fuse of the same amperage rating. Never use a fuse with a higher amperage.
- Test the Circuit: After replacing the fuse, test the component to see if it's working again. If the new fuse blows immediately, there's likely a more serious problem in the circuit that needs to be diagnosed by a professional.
Common Mistakes to Avoid:
- Using the wrong fuse diagram (e.g., for a different year or model).
- Replacing a blown fuse with a fuse of the wrong amperage.
- Ignoring the root cause of a blown fuse. Repeatedly replacing blown fuses without addressing the underlying problem is a temporary solution that can lead to further damage.
Safety First: Identifying Risky Components
Working with electrical systems can be dangerous. Always take the following precautions:
- Disconnect the Battery: Before working on any electrical system component, disconnect the negative battery terminal to prevent accidental shorts and electrical shocks.
- Use Insulated Tools: Use tools with insulated handles to protect yourself from electric shock.
- Avoid Working in Wet Conditions: Water is an excellent conductor of electricity. Never work on electrical systems in wet or damp environments.
- High-Current Circuits: Be especially cautious when working with fuses that protect high-current circuits, such as the starter motor or alternator. These circuits can deliver a significant electrical shock.
- Airbag System: Fuses related to the airbag system should be handled with extreme care. Improper handling of the airbag system can result in accidental deployment, which can cause serious injury. If you are unsure about working with the airbag system, consult a qualified technician.
Disclaimer: This guide is for informational purposes only and should not be considered a substitute for professional automotive advice. Always consult a qualified mechanic for complex repairs or if you are unsure about any aspect of working on your vehicle's electrical system.
Now you're armed with the knowledge to understand and utilize the 2017 Nissan Rogue fuse box diagram! Remember to download the full diagram to keep on hand for your next automotive project.
Please note: Specific fuse assignments may vary slightly depending on the Rogue's trim level and options package. Always refer to the diagram specific to your vehicle.