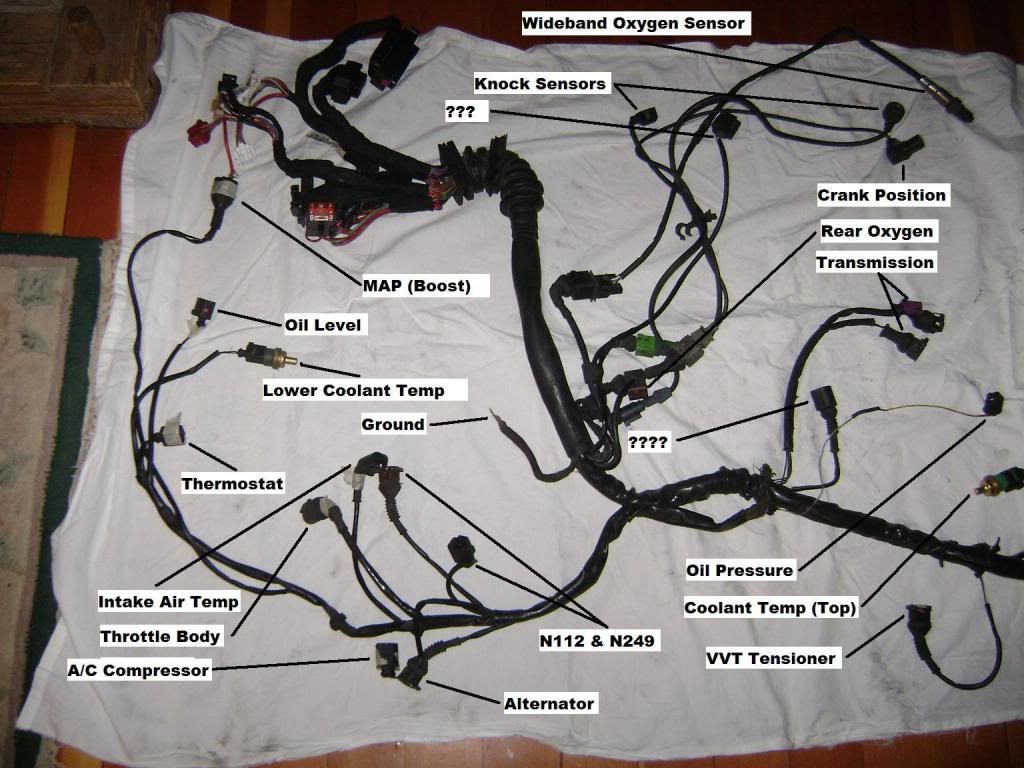
Schematic 5.3 Vortec Wiring Harness Diagram
Welcome, fellow gearheads! Today, we're diving deep into the intricate world of the 5.3 Vortec wiring harness diagram. Whether you're swapping this powerhouse into a classic pickup, troubleshooting an annoying electrical gremlin, or simply expanding your automotive knowledge, understanding this diagram is crucial. Think of it as the Rosetta Stone for your 5.3 Vortec's electrical system.
Purpose: Why Master the 5.3 Vortec Wiring Diagram?
The 5.3 Vortec engine is a popular choice for swaps and upgrades due to its reliability and readily available parts. However, integrating it into a different vehicle or even just maintaining its original setup requires a solid understanding of its wiring. This diagram is your go-to resource for:
- Troubleshooting Electrical Issues: Pinpointing shorts, opens, and other wiring faults that can cause everything from a no-start condition to intermittent sensor errors.
- Performing Engine Swaps: Adapting the Vortec's wiring harness to integrate seamlessly with your vehicle's existing systems.
- Diagnosing Sensor Failures: Quickly identifying which wires connect to specific sensors (like the MAF, MAP, or O2 sensors) and testing their circuits.
- Understanding Engine Management: Gaining a deeper understanding of how the engine control module (ECM) interacts with various components.
- Customizing Your Setup: Adding aftermarket accessories or modifying the wiring for specific performance enhancements.
Key Specs and Main Parts
Before we dive into the diagram itself, let's establish some key specs and identify the main players in the 5.3 Vortec's electrical system. Keep in mind that there might be slight variations depending on the specific year and application, but the core principles remain the same.
- Engine Control Module (ECM): The brain of the operation. It receives signals from various sensors, processes the data, and controls actuators like the fuel injectors and ignition coils.
- Mass Air Flow (MAF) Sensor: Measures the amount of air entering the engine.
- Manifold Absolute Pressure (MAP) Sensor: Measures the pressure inside the intake manifold.
- Oxygen (O2) Sensors: Monitor the oxygen content in the exhaust, providing feedback to the ECM for fuel trim adjustments.
- Throttle Position Sensor (TPS): Indicates the position of the throttle plate.
- Crankshaft Position Sensor (CKP): Monitors the position of the crankshaft, providing crucial timing information.
- Camshaft Position Sensor (CMP): Monitors the position of the camshaft, used for sequential fuel injection and misfire detection.
- Fuel Injectors: Spray fuel into the intake ports.
- Ignition Coils: Provide the high-voltage spark needed to ignite the air-fuel mixture.
- Wiring Harness: The nervous system, connecting all these components together.
Symbols: Deciphering the Diagram's Language
A wiring diagram is essentially a roadmap of electrical connections. Understanding the symbols is paramount to navigating it successfully. Here's a breakdown of common symbols you'll encounter:
- Lines: Represent wires. The thickness of the line doesn't necessarily indicate wire gauge (though sometimes it can!).
- Colors: Each wire is typically color-coded, and the diagram will indicate these colors (e.g., "RED," "BLU," "GRN"). Pay close attention to color codes, as they are essential for accurate tracing.
- Circles: Often represent connectors. They might be labeled with connector numbers for easy identification.
- Squares/Rectangles: Can represent various components like switches, relays, and sensors. They might contain letters or numbers indicating the component type or function.
- Ground Symbols: Indicate a connection to ground (the vehicle's chassis). Common ground symbols include stacked horizontal lines or a downward-pointing triangle.
- Splices: Indicate where multiple wires are joined together.
- Fuses and Circuit Breakers: Represented by a squiggly line within a rectangle.
Important Note: The specific symbols and conventions used can vary slightly between different diagrams. Always refer to the legend or key provided with the diagram for accurate interpretation.
How It Works: Tracing the Circuits
Now, let's talk about how to actually *use* the diagram. The key is to understand the flow of electricity. Start by identifying the component you're interested in. For example, let's say you want to troubleshoot the MAF sensor.
- Locate the MAF sensor on the diagram.
- Identify the wires connected to the MAF sensor. The diagram will show each wire and its color.
- Trace each wire back to its source. This might be the ECM, a power source, a ground, or another sensor.
- Pay attention to any connectors, splices, or fuses along the way. These are potential points of failure.
- Use a multimeter to test the voltage, continuity, or resistance of each wire in the circuit. Compare your readings to the expected values (which you may need to find in a repair manual).
For example, you might trace the MAF sensor's power wire back to a fuse, and then from the fuse to the battery. If the fuse is blown, that's your problem! Or, you might trace the signal wire back to the ECM and test its voltage while the engine is running. An abnormal voltage could indicate a faulty MAF sensor or a problem with the ECM.
Real-World Use: Basic Troubleshooting Tips
Here are a few practical troubleshooting tips based on using the 5.3 Vortec wiring diagram:
- No Start: Use the diagram to trace the power and ground circuits to the ECM, fuel pump, and ignition coils. Check the crankshaft position sensor and camshaft position sensor circuits.
- Check Engine Light (CEL): Use a scan tool to read the trouble codes. Then, use the wiring diagram to trace the circuits related to the reported codes. For example, a P0101 code (MAF sensor circuit range/performance) would lead you to inspect the MAF sensor wiring.
- Intermittent Issues: These are often the most challenging. Carefully inspect connectors for corrosion or loose pins. Use the diagram to check for any shared circuits that might be affecting multiple components.
- Sensor Readings Out of Range: Use the diagram to verify the sensor's power, ground, and signal wires. Test the sensor's resistance or voltage output using a multimeter.
Remember: Always double-check your connections and use the correct tools and procedures. A multimeter and basic electrical knowledge are essential for effective troubleshooting.
Safety: Handling Risky Components
Working with automotive electrical systems can be dangerous if proper precautions aren't taken. Here are some safety tips:
- Disconnect the Battery: Always disconnect the negative battery cable before working on any electrical components. This prevents accidental shorts and potential fires.
- Be Careful with High-Voltage Components: The ignition system (coils, spark plugs) operates at very high voltages. Avoid touching these components while the engine is running.
- Avoid Working in Wet Conditions: Water and electricity don't mix. Work in a dry environment to prevent electrical shock.
- Use Proper Tools: Use insulated tools and test equipment designed for automotive use.
- Be Aware of Airbag Systems: Airbag systems contain explosive charges. Consult a repair manual before working near airbags.
Specifically, the ECM itself is sensitive to static electricity. Always ground yourself before touching the ECM or its connectors.
We've covered a lot, but the 5.3 Vortec wiring diagram is a complex document. Practice tracing circuits, testing components, and consulting repair manuals. With time and experience, you'll become proficient at diagnosing and repairing electrical issues on your 5.3 Vortec engine.
We have the full 5.3 Vortec wiring harness diagram available for download. Contact us for access, and happy wrenching!