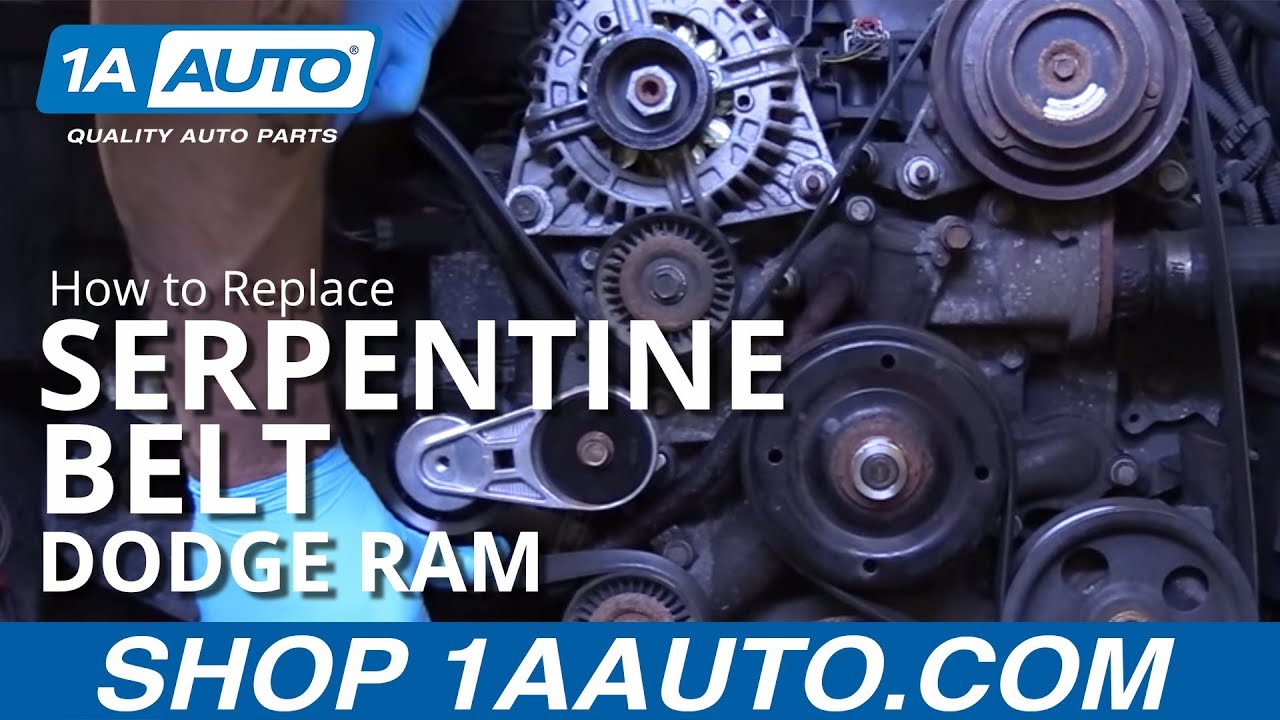
Serpentine Belt Diagram 2004 Dodge Ram 1500
Alright, let's dive into the serpentine belt diagram for your 2004 Dodge Ram 1500. Whether you're tackling a routine belt replacement, diagnosing a squealing noise, or just trying to better understand your truck's engine, this guide will walk you through everything you need to know.
Purpose of the Serpentine Belt Diagram
The serpentine belt diagram is essentially a roadmap for the belt's routing around the various engine accessories. Its purpose is multi-faceted:
- Repair and Maintenance: The most obvious use. When replacing the serpentine belt, the diagram ensures you route the new belt correctly. An incorrectly routed belt will not function properly and can damage your engine components.
- Troubleshooting: If you're experiencing issues like a dead battery, lack of power steering, or overheating, a quick check of the belt's condition and routing can pinpoint potential problems. A snapped or slipping belt is a common cause of these issues.
- Learning and Understanding: For the DIY enthusiast, understanding the belt's path helps you grasp how the engine accessories are driven and interrelated. This knowledge is invaluable for more complex repairs down the line.
Key Specs and Main Parts
Before we delve into the diagram itself, let's identify the key components involved in the serpentine belt system on your 2004 Dodge Ram 1500. Keep in mind that slight variations might exist depending on the specific engine (e.g., 4.7L, 5.7L Hemi), but the fundamental principles remain the same.
- Serpentine Belt: The main player! This single, continuous belt transmits rotational power from the crankshaft to all the engine accessories.
- Crankshaft Pulley (or Damper): Located at the bottom of the engine, this pulley is directly connected to the crankshaft and is the driving force behind the serpentine belt.
- Alternator Pulley: The alternator generates electricity to charge the battery and power the electrical systems.
- Power Steering Pump Pulley: Powers the power steering system, making steering easier.
- Air Conditioning Compressor Pulley: Engages and drives the air conditioning compressor, providing cool air.
- Idler Pulleys: Smooth, bearing-mounted pulleys that guide the belt and maintain proper tension. They don't drive any specific accessory but are critical for routing.
- Tensioner Pulley: This spring-loaded pulley maintains the correct tension on the serpentine belt. It's essential for preventing slippage and ensuring all accessories receive adequate power. The tensioner has a mechanism (usually a square hole or bolt head) to allow you to relieve tension for belt removal and installation.
Symbols Explained
The serpentine belt diagram uses a few key symbols to represent the belt's path and the components it interacts with. Understanding these symbols is crucial for interpreting the diagram correctly.
- Solid Lines: Indicate the path of the serpentine belt. The thickness of the line doesn't necessarily represent the belt's width, but rather emphasizes the belt's route.
- Arrows: Indicate the direction of belt travel. Pay close attention to these arrows, as they are essential for routing the belt correctly.
- Circles: Represent the pulleys of the various engine accessories and idler/tensioner pulleys.
- Labels: Abbreviations or full names of the components (e.g., ALT for alternator, P/S for power steering, A/C for air conditioning, TENS for tensioner, IDLR for idler).
- Routing Overlays: Some diagrams might use shaded areas or different colors to highlight the belt path and illustrate how the belt wraps around each pulley.
How It Works
The serpentine belt system operates on a simple principle: rotational force from the engine is transferred via a belt to power various accessories. The crankshaft pulley, driven directly by the engine's rotation, turns the serpentine belt. The belt, in turn, wraps around the pulleys of the alternator, power steering pump, AC compressor, and other components. As the belt turns these pulleys, it drives the accessories, enabling them to perform their respective functions. The tensioner pulley plays a crucial role in maintaining the correct belt tension, preventing slippage and ensuring optimal performance.
Think of it like a chain reaction. The engine starts, turning the crankshaft. The crankshaft turns the serpentine belt. The serpentine belt turns the accessory pulleys. The accessories perform their functions. If any component in this chain fails, the system will be compromised. For example, a slipping belt won't efficiently turn the alternator pulley, leading to a discharged battery.
Real-World Use: Basic Troubleshooting Tips
The serpentine belt diagram isn't just for belt replacement; it's also a valuable tool for troubleshooting common issues. Here are a few real-world scenarios:
- Squealing Noise: A squealing noise, especially upon startup or during acceleration, is often a sign of a slipping serpentine belt. Check the belt's condition for cracks, glazing, or fraying. Also, inspect the tensioner pulley to ensure it's applying adequate tension. Refer to the diagram to ensure the belt is correctly routed and making full contact with all pulleys.
- Dead Battery: If your battery is consistently dying, the alternator might not be charging properly. Check the serpentine belt to ensure it's driving the alternator pulley effectively. A loose or damaged belt can cause the alternator to underperform.
- Loss of Power Steering: A sudden loss of power steering, often accompanied by a heavy steering feel, could indicate a broken or slipping serpentine belt that's no longer driving the power steering pump. Again, consult the diagram to verify the belt's routing around the power steering pump pulley.
- Overheating: In some cases, the water pump (responsible for circulating coolant) is driven by the serpentine belt. If the belt breaks or slips, the water pump won't function correctly, leading to overheating.
When troubleshooting, always visually inspect the belt and pulleys. Look for signs of wear, damage, or misalignment. Use the diagram as a guide to trace the belt's path and identify potential problem areas.
Safety Considerations
Working on the serpentine belt system involves some inherent risks. Here are a few safety precautions to keep in mind:
- Engine Off: Always ensure the engine is completely off and cool before working on the serpentine belt system. Accidental starts can cause serious injury.
- Battery Disconnect: Disconnect the negative battery terminal to prevent electrical shock or accidental activation of engine components.
- Moving Parts: The serpentine belt system involves rapidly moving parts. Keep your hands, clothing, and tools clear of the belt and pulleys when the engine is running.
- Tensioner Spring: The tensioner pulley is spring-loaded and can snap back with considerable force when released. Use the correct tool to relieve tension and control the pulley's movement.
- Hot Surfaces: Be mindful of hot engine components, especially the exhaust manifold, which can cause burns.
The tensioner, in particular, is a potentially dangerous component. Always use the appropriate tool to release the tension carefully and avoid placing your fingers in the path of the spring's recoil.
Replacing the serpentine belt isn't always complicated, but correct routing is essential. Incorrect routing can lead to accessory failure and even engine damage. If you are unsure of your abilities, it is best to have a professional mechanic perform the work.
Remember, safety first! Take your time, work carefully, and consult the serpentine belt diagram frequently to ensure you're on the right track.
We have the full serpentine belt diagram available for download. This diagram will be an invaluable resource, providing a clear visual representation of the belt's routing, ensuring accurate installation, and aiding in troubleshooting potential issues.