
Serpentine Belt Diagram 2007 Ford Fusion
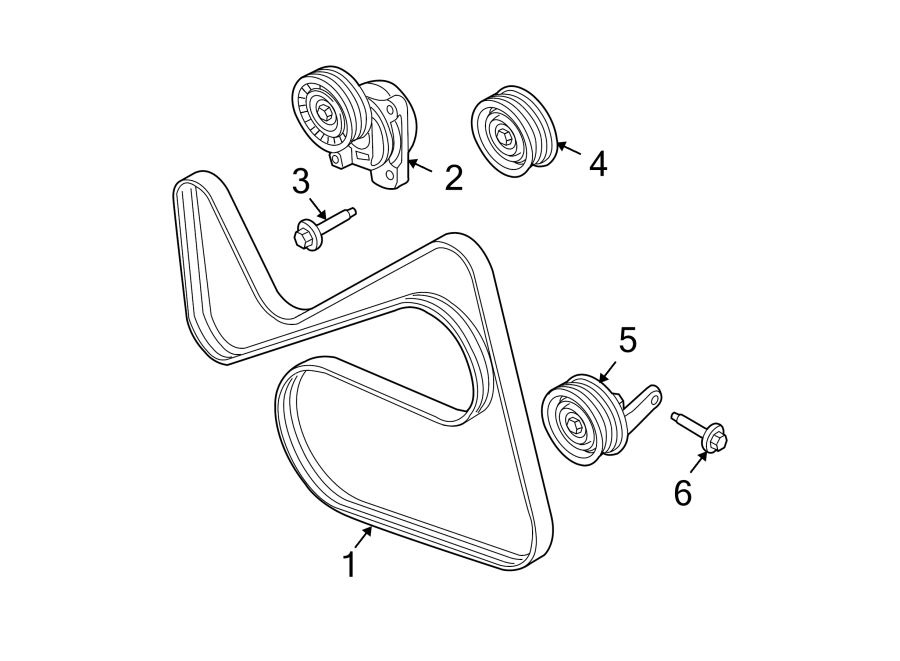
Okay, let's dive into the serpentine belt diagram for your 2007 Ford Fusion. This guide is geared toward those of you who are comfortable tackling intermediate car repairs, maybe even dabbling in some modifications. Knowing your way around the serpentine belt system can save you a lot of money and frustration.
Purpose of a Serpentine Belt Diagram
Why bother with a serpentine belt diagram? Simple. It's your roadmap when dealing with the belt that powers a whole host of critical engine accessories. Specifically, it's invaluable for:
- Belt Replacement: The primary use. You need to know the correct routing to ensure proper operation.
- Troubleshooting: A squealing belt? Knowing the components it drives helps you pinpoint the source of the noise.
- Repairing/Replacing Accessories: If you're replacing the alternator, power steering pump, or AC compressor, you'll need to remove and reinstall the belt. The diagram ensures you get it right.
- General Maintenance: Just familiarizing yourself with the system can prevent future problems. You'll be able to spot wear and tear before it leads to a breakdown.
Consider it your visual aid for understanding the interconnectedness of these vital components.
Key Specs and Main Parts
Let's talk specifics for your 2007 Ford Fusion. While the exact layout might vary slightly depending on your engine (2.3L I4 or 3.0L V6), the core components and principles remain the same. Here's a breakdown:
Main Components
- Crankshaft Pulley: The heart of the system, driven directly by the engine. It's the starting point for the belt's journey.
- Alternator: Charges the battery and powers electrical components. You'll see the belt wrapping around its pulley.
- Power Steering Pump: Provides hydraulic assistance for steering. Another pulley driven by the serpentine belt.
- Air Conditioning (AC) Compressor: Compresses refrigerant for cooling. You guessed it, another pulley.
- Idler Pulley(s): Smooth, ungrooved pulleys that guide the belt and maintain proper tension and wrap angle around other pulleys. These are critical for preventing belt slippage.
- Tensioner Pulley: Spring-loaded pulley that automatically maintains the correct tension on the serpentine belt. A failing tensioner is a common cause of belt squeal and reduced accessory performance. The spring force of the tensioner is critical to long belt life.
Belt Specifications
Using the correct belt size is crucial. Check your owner's manual or a reputable auto parts store for the exact belt length for your engine. Using the wrong size can lead to improper tension, premature wear, and component damage. Belt lengths are typically given in inches (e.g., 85.5 inches).
Understanding the Serpentine Belt Diagram Symbols
Decoding the diagram is key to its usefulness. Here’s what to look for:
- Solid Lines: Represent the serpentine belt itself. The path of the line shows the belt's routing around the various pulleys.
- Arrows: Indicate the direction of belt travel. Pay attention to these, as incorrect routing can cause serious problems.
- Pulleys: Usually represented as circles. They may be labeled with abbreviations like "ALT" (alternator), "P/S" (power steering), "A/C" (air conditioning), "CRANK" (crankshaft), "IDLER," and "TENSIONER."
- Text Labels: Provide additional information about each component, such as pulley diameter or specific part numbers (although these are less common on basic routing diagrams).
- Dashed Lines: Sometimes used to show the "backside" of the belt running against a smooth pulley. This distinguishes it from the grooved side engaging with a grooved pulley.
How It Works
The serpentine belt system is elegantly simple in principle. The crankshaft pulley, driven by the engine's rotation, acts as the prime mover. It transfers rotational force to the serpentine belt, which in turn drives all the other accessory pulleys. The tensioner pulley ensures that the belt maintains consistent contact with all the pulleys, preventing slippage. Without proper tension, the accessories won't operate efficiently, leading to issues like a weak battery (alternator not charging), stiff steering (power steering pump not working properly), and poor cooling (AC compressor not functioning optimally).
Think of it like a chain connecting various gears (the pulleys). Each gear needs to be properly engaged and turning at the right speed to perform its task. The serpentine belt is the chain that links them all together.
Real-World Use: Basic Troubleshooting Tips
Let's say you're experiencing a problem. Here are a few common scenarios and how the diagram helps:
- Squealing Belt: Most likely caused by belt slippage. The diagram helps you identify which pulley might be contributing to the problem. Is the tensioner pulley moving freely? Is one of the accessory pulleys stiff or binding? Inspect the belt itself for signs of wear (cracks, fraying, glazing).
- Accessory Failure: If your alternator isn't charging or your AC isn't cooling, use the diagram to verify that the belt is properly routed and tensioned around the affected component's pulley. A loose belt can prevent the accessory from functioning correctly.
- Belt Breaking: A broken belt can strand you. Before replacing it, examine the diagram to ensure the new belt is routed correctly. More importantly, investigate why the old belt broke. Was a pulley seized? Was the tensioner failing? Addressing the root cause is essential to prevent repeat failures.
- Belt Walking: A new belt walks off the pulley shortly after installation. This is often due to misalignment or a damaged pulley. Check the alignment of each pulley with a straightedge or laser pointer. Replace any pulleys that are bent or damaged. The serpentine belt diagram will show the relative location of each accessory.
Safety Considerations
Working around the serpentine belt system can be hazardous. Keep these points in mind:
- Engine Off: Always ensure the engine is off and the key is removed before working on the serpentine belt system. Accidental engine starting can cause serious injury.
- Hot Components: Be careful when working on a recently run engine. Pulleys and the belt itself can get very hot.
- Moving Parts: Keep your hands, hair, and clothing clear of the belt and pulleys when the engine is running. Even at idle speed, the belt can cause serious injury.
- Battery Disconnect: Consider disconnecting the negative battery terminal to prevent accidental short circuits while working.
- Tensioner Spring: The tensioner pulley is spring-loaded and can snap back with considerable force when released. Use the correct tools and techniques to relieve tension safely.
Pay special attention to the tensioner pulley. Its spring mechanism stores a significant amount of energy. Using the correct tool (usually a serpentine belt tool or a socket wrench with a long extension) to relieve tension is crucial for safe belt removal and installation.
With the diagram and these tips, you're well-equipped to tackle most serpentine belt-related tasks on your 2007 Ford Fusion. Remember to double-check your work and consult a professional if you're unsure about anything. A little knowledge can go a long way in keeping your Fusion running smoothly!
We have a detailed serpentine belt diagram file specifically for the 2007 Ford Fusion available for download. This file includes high-resolution images and detailed component labeling to further assist you with your repairs.