Serpentine Belt Diagram For 2007 Honda Odyssey
Okay, let's dive into the serpentine belt diagram for a 2007 Honda Odyssey. This isn't just some fancy drawing; it's your roadmap for maintaining a crucial system. Whether you're tackling a squealing belt, replacing a worn-out component, or just trying to understand how your van keeps its cool (literally!), understanding this diagram is essential.
Purpose of the Serpentine Belt Diagram
Why bother with a serpentine belt diagram? Several reasons, primarily:
- Repair & Replacement: The most common use is for replacing the serpentine belt itself. Knowing the exact routing ensures you get the belt back on correctly. A misrouted belt can cause serious damage to your accessories, and potentially the engine.
- Troubleshooting: A diagram helps diagnose accessory drive problems. If an accessory isn't working (e.g., the A/C isn't blowing cold), the diagram can help you trace the belt's path and identify potential issues like a seized pulley or a worn tensioner.
- Preventative Maintenance: Using the diagram, you can visually inspect the belt and its components. Look for signs of wear, cracks, fraying, or misalignment. Early detection can save you from a breakdown.
- General Understanding: Even if you're not actively working on your van, understanding the belt's routing and the components it drives enhances your knowledge of your vehicle's inner workings.
Key Specs and Main Parts
Let's break down the essentials for the 2007 Honda Odyssey's serpentine belt system. Keep in mind that while specific pulley sizes might vary slightly with aftermarket parts, the general layout remains consistent.
Main Components:
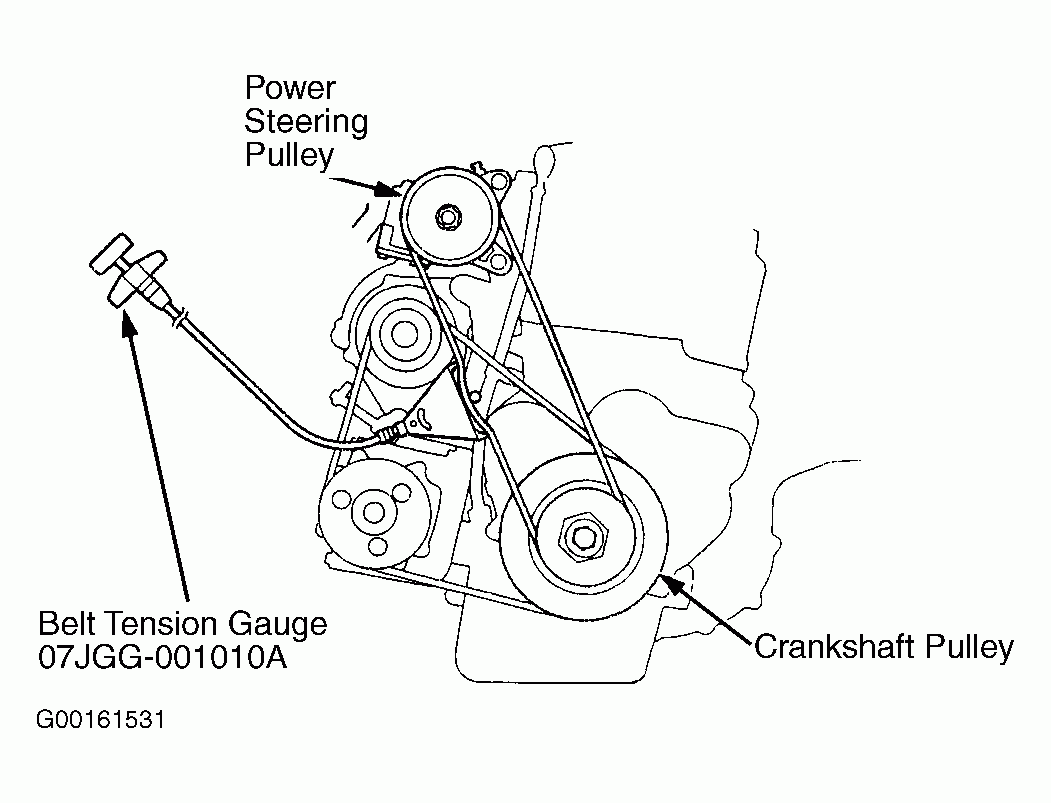
- Crankshaft Pulley: This is the heart of the system. Driven directly by the engine's crankshaft, it provides the power to turn the belt and drive the other accessories.
- Alternator Pulley: The alternator generates electricity to power your van's electrical system and recharge the battery.
- Power Steering Pump Pulley: This pulley drives the power steering pump, providing hydraulic assistance to make steering easier.
- A/C Compressor Pulley: Drives the air conditioning compressor, which circulates refrigerant to cool the cabin.
- Idler Pulley(s): These are smooth, bearing-mounted pulleys that guide the belt and maintain its tension. They have no direct function other than belt guidance. The 2007 Odyssey has at least one idler pulley.
- Tensioner Pulley: The most crucial pulley after the crankshaft. The tensioner maintains the proper tension on the serpentine belt. It’s spring-loaded and pivots to compensate for belt stretch and vibrations. A failing tensioner can cause belt slippage, noise, and damage to the belt and accessories.
Belt Specs:
While exact length can vary slightly between manufacturers, you'll typically be looking for a serpentine belt in the range of 83-84 inches in length for a 2007 Honda Odyssey. Always double-check the specific part number recommended for your engine code and any aftermarket accessories you may have. Using the wrong belt can lead to improper tension, component damage, or premature belt failure. Consult your owner's manual or a reliable parts retailer (like RockAuto) to confirm the correct belt.
Understanding the Serpentine Belt Diagram Symbols
Serpentine belt diagrams use a few key symbols to represent the components and belt path. Deciphering these symbols is key to understanding the diagram.
- Solid Lines: These represent the belt itself. The direction of the line indicates the belt's path around the pulleys.
- Circles/Discs: These represent the pulleys. The size of the circle doesn't necessarily indicate the pulley's actual size, but it does represent its presence in the system.
- Arrows: Arrows on the diagram indicate the direction of rotation for each pulley. This is crucial for understanding how the belt should be routed to ensure the accessories rotate in the correct direction.
- Text Labels: Each pulley is typically labeled with its corresponding component (e.g., "ALT" for alternator, "P/S" for power steering).
- Tensioner Symbol: The tensioner pulley is often represented with a special symbol that indicates its spring-loaded nature. This might be a dashed line connecting the pulley to a spring or a similar visual cue.
- Routing Arrows: Some diagrams include arrows that illustrate the specific path the belt should take around each pulley. These are particularly helpful when the routing is complex.
How the Serpentine Belt System Works
The serpentine belt system is a brilliantly simple, yet vital, power transmission system. The crankshaft pulley, driven by the engine, rotates the serpentine belt. The belt, in turn, wraps around and drives all the accessory pulleys: the alternator (charging the battery), the power steering pump (assisting steering), the A/C compressor (cooling the cabin), and sometimes other accessories like the water pump (though on the 2007 Odyssey, the water pump is typically driven by the timing belt). The tensioner pulley keeps the belt taut, ensuring that it doesn't slip or vibrate excessively. If the belt is too loose, the accessories won't function properly, and the belt will wear out quickly. If the belt is too tight, it can put excessive strain on the accessory bearings, leading to premature failure.
Real-World Use: Basic Troubleshooting
Okay, so you have the diagram. Now, how do you use it in the real world?
- Squealing Belt: A squealing belt is often caused by slippage. Check the belt tension. If the tensioner appears weak or the belt is visibly loose, it's likely the tensioner is failing or the belt is stretched beyond its usable life. Also, inspect the pulleys for damage or contamination (oil or coolant leaks can cause slippage). The diagram helps you quickly locate each pulley for inspection.
- Accessory Not Working: If your A/C isn't blowing cold, or your power steering is stiff, check the belt routing and condition. Is the belt properly routed around the A/C compressor or power steering pump pulley? Is the belt frayed or cracked? If so, replace the belt. If the belt is intact and properly routed, the problem likely lies with the accessory itself (e.g., a faulty A/C compressor).
- Visual Inspection: Regularly inspect the belt for signs of wear. Cracks, fraying, and missing chunks are all indicators that the belt needs to be replaced. The diagram reminds you of all the components you need to visually inspect.
- Tensioner Check: The tensioner should move smoothly throughout its range of motion. If it's seized or jerky, it needs to be replaced. Look for excessive vibration of the tensioner arm while the engine is running, this also indicates a failing tensioner.
Safety Considerations
Working on the serpentine belt system involves some inherent risks. Pay close attention to these:
- Rotating Components: The most critical safety precaution: NEVER work on the serpentine belt system while the engine is running. Keep hands, hair, and clothing clear of the belt and pulleys at all times.
- Hot Engine: Allow the engine to cool completely before working on the system. Exhaust manifolds and other engine components can remain extremely hot for a significant time after the engine is shut off.
- Spring Tension: The tensioner pulley is spring-loaded and can snap back with considerable force. Use appropriate tools to relieve the tension before removing the belt. Many serpentine belt tool kits are available at auto parts stores.
- Eye Protection: Always wear safety glasses when working on your vehicle to protect your eyes from debris.
The serpentine belt system is a critical part of your 2007 Honda Odyssey. Understanding how it works and using the diagram to properly maintain it can save you from costly repairs and breakdowns. Regular inspections and timely replacements of worn components are key to keeping your van running smoothly.
We have the full, high-resolution serpentine belt diagram available for download. It will be an invaluable resource as you maintain your 2007 Honda Odyssey. Contact us to gain access to the diagram file.