Toyota Highlander Body Parts Diagram
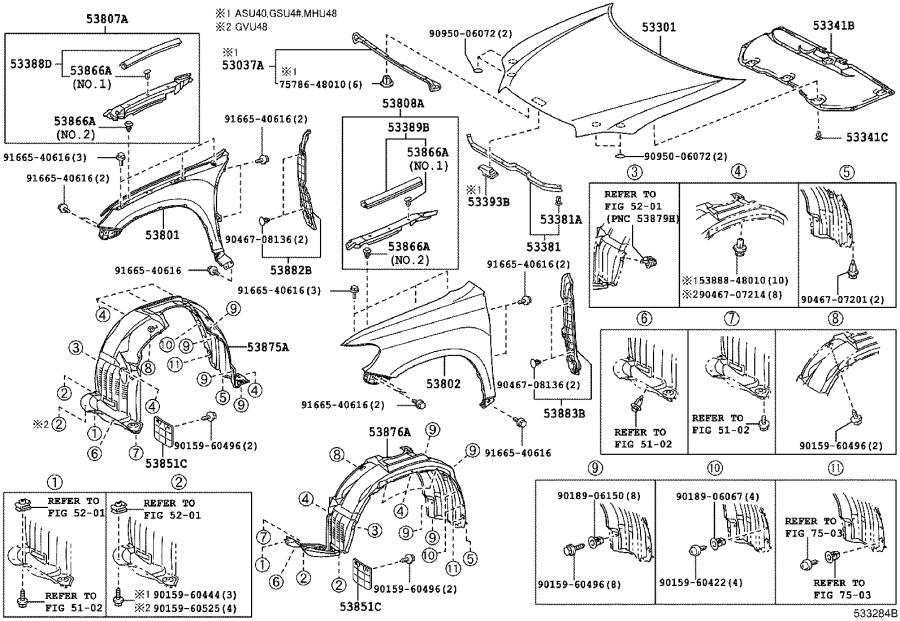
For the experienced DIYer or budding mechanic tackling repairs, modifications, or even just understanding the anatomy of their Toyota Highlander, a body parts diagram is an invaluable resource. This isn't just a pretty picture; it's a technical blueprint that reveals the Highlander's skeletal structure, component locations, and critical relationships between various parts. Let's dive into what makes this diagram so crucial and how to effectively use it.
Purpose of a Toyota Highlander Body Parts Diagram
The primary purpose of a body parts diagram is multi-faceted. Consider it your roadmap to understanding and interacting with your vehicle's body:
- Repair and Replacement: Identifying the precise name, location, and orientation of a damaged part is the first step in any repair. The diagram helps you order the correct replacement part and guides its installation.
- Collision Repair Assessment: After an accident, the diagram allows you to assess the extent of damage, identify underlying structural issues, and estimate repair costs.
- Modification and Customization: Planning modifications, like adding aftermarket bumpers or side skirts, requires understanding how these parts interface with the existing body structure.
- Understanding Vehicle Anatomy: Even without immediate repairs in mind, studying the diagram provides a deeper understanding of your vehicle's construction and engineering. This knowledge can be incredibly helpful in preventative maintenance and identifying potential issues early on.
Key Specs and Main Body Parts
A Highlander body parts diagram will typically illustrate the following major components. Note that the specifics may vary slightly depending on the Highlander generation and trim level:
- Front End Assembly: This includes the hood, fenders, bumper (fascia), grille, headlights, and the supporting structure (e.g., radiator support).
- Side Panels: This incorporates the front and rear doors, rocker panels, side mirrors, and the associated window glass.
- Rear End Assembly: The tailgate or liftgate, rear bumper, taillights, and rear quarter panels constitute the rear end.
- Roof: The roof panel itself, as well as roof rails (if equipped), and sunroof assembly.
- Underbody: A detailed view of the floor pan, frame rails (or unibody structure), and other components beneath the vehicle. Understanding the underbody is crucial for identifying corrosion and structural damage.
- Body Reinforcements: These are critical structural members, such as pillars (A, B, and C pillars), side impact beams, and other reinforcements designed to protect occupants in a collision. Identifying these parts is essential for assessing collision damage repairability.
Key specs often included (though not always explicitly labeled) are dimensions, material types (e.g., high-strength steel, aluminum), and joining methods (welds, rivets, adhesives).
Understanding the Symbols in the Diagram
A body parts diagram isn't just a collection of pictures. It uses a standardized set of symbols to convey important information. Here's a breakdown of common symbols:
- Lines: Solid lines generally represent visible edges or contours. Dashed lines often indicate hidden lines or parts located behind other components. Different line thicknesses can denote the relative importance or visibility of a part.
- Colors: While some diagrams are monochrome, others use color to differentiate between materials, part types, or areas of emphasis. For instance, a color might highlight high-strength steel or indicate a section requiring specialized repair techniques.
- Arrows: Arrows often indicate the direction of assembly or disassembly. They can also show the path of force during a collision.
- Reference Numbers/Letters: Each part is typically assigned a unique number or letter, cross-referenced in a parts list accompanying the diagram. This allows you to easily identify and order the correct replacement part.
- Hatching/Shading: Hatching or shading can represent different materials or surface textures. It can also highlight areas requiring specific surface preparation before painting or welding.
It's important to carefully study the legend or key accompanying the diagram to understand the specific meaning of each symbol used.
How a Body Parts Diagram Works
The diagram functions as an exploded view or a series of sectional views that shows how the different components of the Highlander's body fit together. It helps you visualize the assembly sequence and identify potential interference points. It also provides critical information on fasteners and attachment methods.
Think of it as a 3D puzzle laid out on a 2D surface. Each part is depicted in its relative position, and the diagram highlights the connecting points (e.g., bolts, welds, clips). By studying the diagram, you can understand how stresses are distributed throughout the body structure and how various components contribute to the vehicle's overall integrity.
Real-World Use: Basic Troubleshooting Tips
Here are some practical ways to use a body parts diagram for troubleshooting:
- Rattling Sounds: Use the diagram to pinpoint potential sources of rattles. For example, a rattling sound from the rear might be caused by a loose trim panel on the liftgate or a damaged bumper cover.
- Water Leaks: The diagram can help you trace the path of water leaks. By examining the sealing surfaces and drainage channels, you can identify areas where water might be entering the cabin.
- Alignment Issues: If your doors or hood are misaligned, the diagram can help you identify the adjustment points and understand the underlying structural issues.
- Rust Identification: Use the underbody diagram to identify areas prone to rust, such as seams, welds, and areas where water tends to accumulate.
Before attempting any repairs, always consult the official Toyota repair manual for your specific Highlander model year. The body parts diagram is a supplement to, not a replacement for, the factory service information.
Safety Considerations
Working on a vehicle's body can be dangerous if proper safety precautions are not taken. Here are some critical safety considerations:
- High-Strength Steel: Many body components, especially structural members, are made of high-strength steel. These materials require specialized welding techniques and equipment. Attempting to weld high-strength steel without the proper training and equipment can weaken the structure and compromise safety.
- Airbag System: Be extremely cautious when working near airbags. Accidental deployment can cause serious injury. Disconnect the battery and follow the manufacturer's instructions for disabling the airbag system before working near any airbag components.
- Sharp Edges: Vehicle body panels often have sharp edges. Wear gloves and eye protection to prevent cuts and abrasions.
- Proper Support: Always use jack stands or other approved support devices when working under the vehicle. Never rely on a jack alone.
Always prioritize safety and consult with a qualified professional if you are unsure about any aspect of the repair.
We have a Toyota Highlander Body Parts Diagram file ready for you to use. It will provide you with the information discussed above. Download it now and take the first step towards understanding your Highlander's inner workings. This diagram is a valuable asset to any car enthusiast or mechanic.