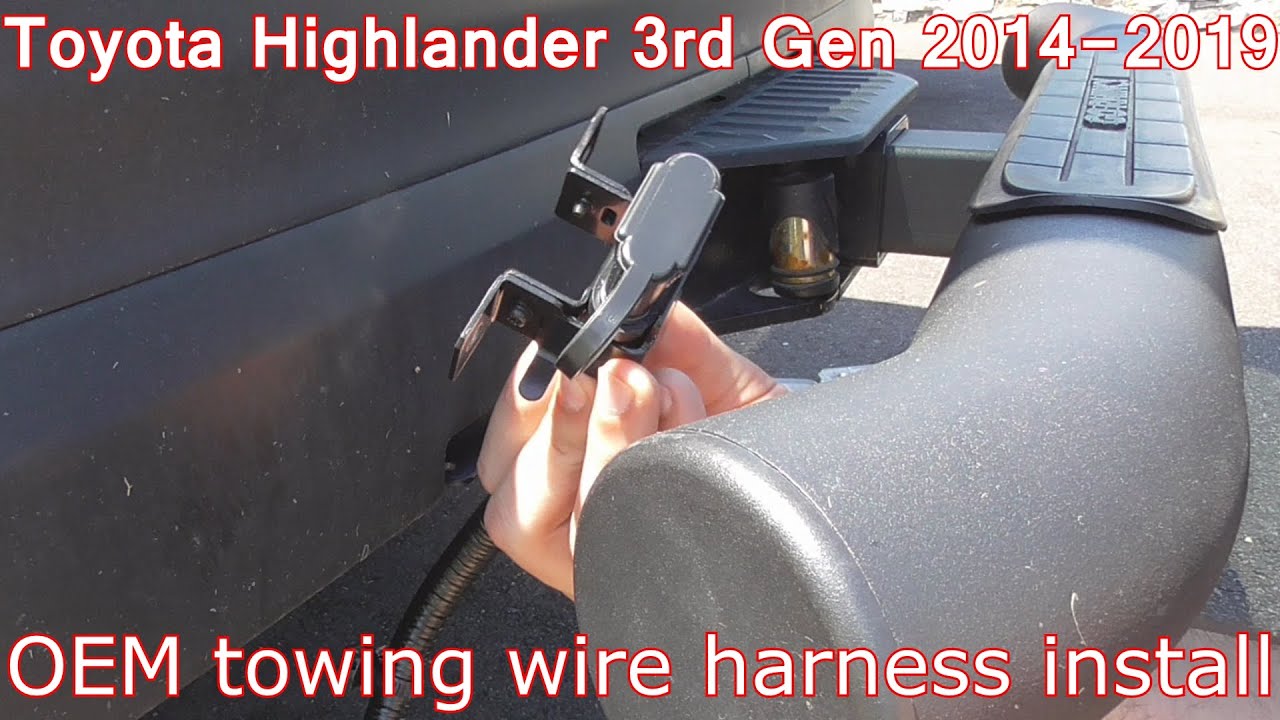
Toyota Highlander Tow Wiring Harness
Understanding the Toyota Highlander's tow wiring harness is crucial for anyone planning to tow trailers or other equipment. Whether you're diagnosing a malfunctioning trailer light, installing a new brake controller, or simply expanding your knowledge of your Highlander's electrical system, this guide will provide you with the technical insight you need. We'll cover the harness's purpose, key components, how it works, and offer practical troubleshooting tips. Furthermore, we have the complete wiring diagram available for download – you'll find the link at the end of this article.
Purpose of the Tow Wiring Harness
The tow wiring harness serves as the electrical interface between your Toyota Highlander and the trailer you're towing. Its primary function is to transmit electrical signals from your Highlander's lighting and braking systems to the trailer's corresponding systems. This ensures that your trailer's lights (brake lights, turn signals, tail lights, and sometimes auxiliary lights) operate in sync with your vehicle, providing essential safety and visibility for you and other drivers. Beyond lighting, the harness can also provide power for trailer brakes (via a brake controller) and even a 12V auxiliary power supply for charging trailer batteries or running low-power devices.
Key Specs and Main Parts
The Toyota Highlander utilizes a standardized tow wiring harness configuration, typically a 4-pin flat connector or a 7-pin round connector, although some models may have provisions for both. Let's break down the common connectors and their functions:
- 4-Pin Flat Connector: This is the most basic connector, providing essential lighting functions.
- Pin 1: Ground (White Wire)
- Pin 2: Tail Lights (Brown Wire)
- Pin 3: Left Turn Signal and Brake Light (Yellow Wire)
- Pin 4: Right Turn Signal and Brake Light (Green Wire)
- 7-Pin Round Connector: This connector adds functionality for trailer brakes and auxiliary power.
- Pin 1: Ground (White Wire)
- Pin 2: Tail Lights (Brown Wire)
- Pin 3: Left Turn Signal and Brake Light (Yellow Wire)
- Pin 4: Right Turn Signal and Brake Light (Green Wire)
- Pin 5: Electric Brakes (Blue Wire) - Requires a brake controller in the Highlander.
- Pin 6: 12V Auxiliary Power (Black Wire) - Often used for charging trailer batteries.
- Pin 7: Reverse Lights (Purple Wire) - Optional, and not always wired.
Brake Controller: When the 7-pin connector's electric brake function is utilized, a brake controller is essential. This device, installed inside the Highlander's cabin, allows the driver to control the amount of braking force applied to the trailer's electric brakes. The brake controller is wired into the Highlander's electrical system, including the brake light circuit and the 7-pin connector's brake wire (blue). Improper installation can cause significant issues.
Wiring Harness Adapter: If your Highlander is not already equipped with a factory tow package, you can use a wiring harness adapter. These adapters typically plug into the Highlander's existing tail light wiring, tapping into the necessary signals without requiring extensive splicing. However, quality and proper installation are essential for reliability.
Understanding Wiring Diagram Symbols
A wiring diagram uses a standardized set of symbols to represent electrical components and connections. Understanding these symbols is critical for interpreting the diagram correctly. Here are some common symbols you'll encounter:
- Solid Lines: Represent wires. The thickness of the line often doesn't indicate wire gauge but simply clarity on the diagram.
- Dashed Lines: Can represent shielded wires or wiring that is optional/not always present.
- Circles: Represent connectors or junction points.
- Rectangles: Represent electrical components like relays, fuses, or modules.
- Zigzag Lines: Represent resistors.
- Ground Symbol: Indicates a connection to the vehicle's chassis ground.
- Fuse Symbol: A wavy line or a rectangle with a diagonal line through it represents a fuse.
Wire Colors: Wire colors are usually indicated on the wiring diagram using abbreviations. Common abbreviations include: BK (Black), WH (White), RD (Red), BL (Blue), GN (Green), YL (Yellow), BR (Brown), and OR (Orange). Combinations of colors, such as "WH/BK," indicate a white wire with a black stripe.
How the Tow Wiring Harness Works
The tow wiring harness works by tapping into the Highlander's existing electrical circuits. When you activate your turn signal, for example, the Highlander's turn signal circuit sends an electrical signal to the corresponding pin on the tow wiring harness. This signal then travels to the trailer's turn signal light, causing it to flash in sync with your vehicle's turn signal. The same principle applies to the brake lights, tail lights, and other functions.
For the 7-pin connector's electric brake function to work, a brake controller is required. The brake controller monitors the Highlander's braking activity (usually by sensing the deceleration rate) and sends a proportional voltage signal to the trailer's electric brakes. This allows the trailer's brakes to apply smoothly and progressively, preventing jerky stops and maintaining control.
Real-World Use – Basic Troubleshooting Tips
Here are some common issues you might encounter and how to troubleshoot them:
- No Trailer Lights: First, check the fuses in your Highlander that are related to the trailer wiring. Use a multimeter to confirm they are not blown. Then, check the ground connection for both the Highlander's harness and the trailer's harness. A poor ground is a common cause of lighting problems. Use a test light or multimeter to verify that power is reaching the appropriate pins on the connector when the corresponding lights are activated.
- One Light Not Working: Start by inspecting the bulb on the trailer. If the bulb is good, check the wiring connections to that particular light. Look for corroded or loose connections.
- Brake Lights Not Working: Check the Highlander's brake light switch, which is located near the brake pedal. Make sure the switch is functioning correctly. If using a 7-pin connector, verify that the brake controller is properly installed and functioning.
- Flickering Lights: This is often caused by a loose connection or a corroded connector. Carefully inspect all wiring connections and clean any corrosion with a wire brush and electrical contact cleaner.
Using a Multimeter: A multimeter is invaluable for diagnosing electrical problems. Use it to check for voltage, continuity, and resistance. When checking for voltage, connect the black lead to a known good ground and the red lead to the pin you're testing. When checking for continuity, disconnect the power source and test between two points to see if there's a complete circuit. Resistance measurements can help identify damaged wires or components.
Safety Considerations
Working with automotive electrical systems can be dangerous. Always disconnect the negative battery terminal before working on any wiring. Never cut or splice wires without properly identifying their function first. Short circuits can damage your Highlander's electrical system and even cause a fire.
Airbag Systems: Be especially cautious when working near airbag system components. Disconnecting or tampering with airbag wiring can cause accidental airbag deployment, which can result in serious injury. If you are unsure about working near airbag components, consult a qualified technician.
High-Current Circuits: The 12V auxiliary power circuit in the 7-pin connector can carry a significant amount of current. Always use appropriately sized wiring and fuses to prevent overheating and potential fire hazards.
Installing a tow wiring harness incorrectly can lead to significant problems, including damage to your vehicle's electrical system, malfunctioning trailer lights, and even brake failure. If you are not comfortable working with electrical systems, it is best to consult a qualified technician.
By understanding the tow wiring harness's function, components, and wiring diagram, you'll be better equipped to maintain and troubleshoot your Highlander's towing capabilities. Remember to prioritize safety and double-check your work. To further assist you, we have the complete Toyota Highlander tow wiring diagram available for download. [Insert Download Link Here]