
Toyota Highlander Undercarriage Diagram
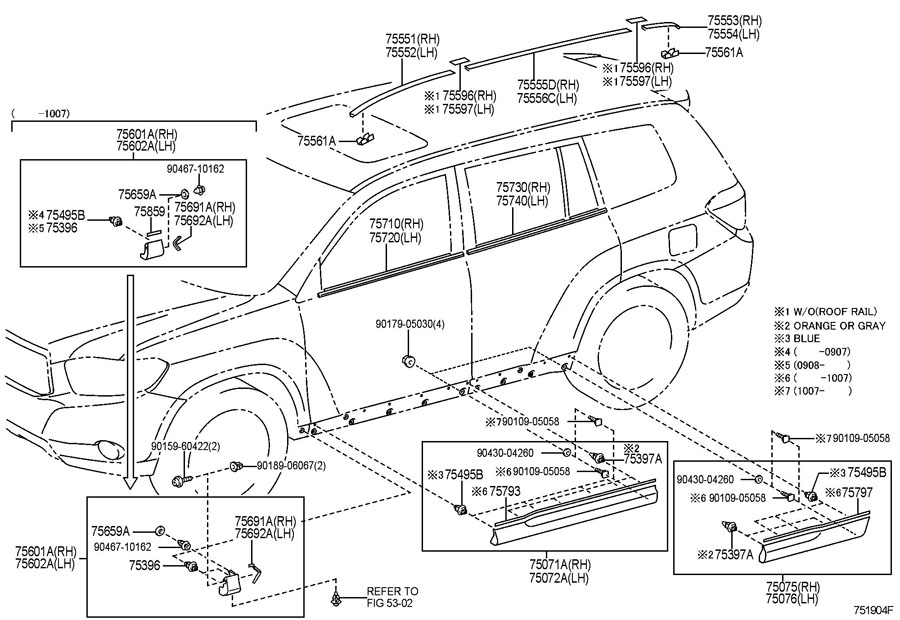
The Toyota Highlander is a popular SUV known for its reliability and versatility. Whether you're planning on performing routine maintenance, tackling a repair, or even customizing your Highlander, understanding its undercarriage is crucial. A detailed undercarriage diagram is your roadmap to successfully navigating this often-overlooked area of your vehicle. This article will guide you through the key components, how they function, and how to safely utilize an undercarriage diagram for practical purposes.
Purpose of an Undercarriage Diagram
Why bother with an undercarriage diagram? The answer lies in its utility. An undercarriage diagram serves several crucial purposes:
- Identification: It allows you to correctly identify components, especially if you're dealing with a part you're unfamiliar with. Imagine trying to describe a sway bar link to a parts store without knowing what it looks like!
- Repair Guidance: When following repair procedures (either from a service manual or online), the diagram clarifies the location of fasteners, connections, and adjacent components, ensuring you don't accidentally damage something else during disassembly or reassembly.
- Troubleshooting: It helps pinpoint potential problem areas. For example, a visual inspection of the diagram might reveal that a specific component is frequently exposed to road debris, making it a prime suspect for damage.
- Modification Planning: If you're considering modifications like adding skid plates, aftermarket exhaust systems, or suspension upgrades, the diagram allows you to visualize the available space and mounting points.
- Damage Assessment: After an accident or off-road excursion, a diagram helps you systematically assess the extent of the damage to the undercarriage.
Key Specs and Main Parts
The Toyota Highlander undercarriage houses numerous vital components. Let's break down some of the key areas and parts you'll encounter:
Front Suspension:
This is usually a MacPherson strut design. Key components include:
- Struts: Dampen vibrations and control wheel movement.
- Lower Control Arms: Connect the suspension to the frame, allowing for wheel travel.
- Sway Bar (Anti-Roll Bar): Reduces body roll during cornering.
- Sway Bar Links: Connect the sway bar to the suspension components.
- Tie Rod Ends: Connect the steering rack to the steering knuckle.
- CV Axles (Constant Velocity Axles): Transmit power from the transaxle to the front wheels (on AWD and FWD models).
Rear Suspension:
Often a multi-link design for improved ride quality. Key components include:
- Shocks: Dampen vibrations and control wheel movement.
- Coil Springs: Support the vehicle's weight.
- Control Arms (Upper and Lower): Connect the suspension to the frame.
- Sway Bar (Anti-Roll Bar): Reduces body roll during cornering.
- Trailing Arms: Help control wheel movement.
Exhaust System:
Carries exhaust gases away from the engine.
- Exhaust Manifold: Collects exhaust gases from the engine cylinders.
- Catalytic Converter: Reduces harmful emissions.
- Muffler: Reduces exhaust noise.
- Tailpipe: The final section of the exhaust system.
Fuel System:
- Fuel Tank: Stores fuel.
- Fuel Lines: Carry fuel from the tank to the engine.
Drivetrain (AWD Models):
- Driveshaft: Transmits power from the transmission to the rear differential.
- Rear Differential: Transfers power to the rear wheels.
Braking System:
- Brake Lines: Carry brake fluid to the calipers.
Symbols, Lines, and Colors
Undercarriage diagrams aren't just pictures; they use specific conventions to convey information efficiently. Here's a breakdown of common symbols and their meanings:
- Solid Lines: Typically represent physical components, like pipes, hoses, or structural members. The thickness of the line can indicate the size or importance of the component.
- Dashed Lines: Often denote hidden components or those located on the other side of a visible part. They can also represent vacuum lines or electrical wiring.
- Colors: While not standardized across all diagrams, colors often indicate the type of fluid a line carries (e.g., red for fuel, green for coolant, blue for brake fluid). Always refer to the diagram's legend for specific color coding.
- Arrows: Show the direction of flow for fluids or gases.
- Circles and Squares: Indicate mounting points, fasteners (bolts, nuts), or sensor locations.
- Component Icons: Simplified representations of parts, such as the symbol for a catalytic converter or a fuel pump.
Always consult the legend or key provided with the specific diagram you are using. The lack of a standardized system necessitates checking the specific diagram.
How It Works: The Undercarriage in Action
The Highlander's undercarriage is a complex network of interconnected systems working in concert. The suspension system absorbs bumps and maintains tire contact with the road, ensuring a comfortable ride and stable handling. The exhaust system efficiently removes combustion byproducts, minimizing emissions and noise. The fuel system delivers a consistent supply of fuel to the engine. On AWD models, the drivetrain distributes power to all four wheels, providing enhanced traction in various conditions. The braking system provides reliable stopping power. A properly functioning undercarriage is essential for the vehicle's performance, safety, and longevity.
Real-World Use: Basic Troubleshooting Tips
Here are some ways you can use the undercarriage diagram to aid in troubleshooting:
- Identifying Leaks: Notice a fluid leak? Use the diagram to trace the fluid lines and components in that area. The color of the fluid can help narrow down the source (e.g., reddish-brown for transmission fluid, green for coolant).
- Diagnosing Suspension Noises: A clunking or rattling noise from the suspension could indicate worn-out bushings, ball joints, or sway bar links. The diagram helps you pinpoint these components for inspection.
- Exhaust System Inspection: Use the diagram to locate potential exhaust leaks. Check for rust, cracks, or loose connections, especially around joints and welds.
- Aftermarket Installations: Want to install an aftermarket tow hitch? Consult the diagram to locate frame mounting points and avoid interfering with other components.
Safety Considerations
Working under a vehicle can be dangerous. Always prioritize safety:
- Secure the Vehicle: Use jack stands to support the vehicle. Never rely solely on a jack. Ensure the vehicle is on a level surface.
- Disconnect the Battery: Before working on electrical components, disconnect the negative battery terminal to prevent accidental shorts.
- Wear Safety Glasses: Protect your eyes from dirt, debris, and fluids.
- Be Aware of Hot Components: The exhaust system can remain hot for a considerable time after the engine is turned off. Allow it to cool before working near it.
- High-Pressure Systems: Be extremely cautious when working near brake lines. Depressurize the system before disconnecting any lines. Brake fluid is corrosive and can damage paint.
Risky Components: The brake system and the fuel system are inherently risky. Any mistakes here could be catastrophic. If you are not completely confident in your ability to work on these systems, consult a qualified mechanic.
Understanding the Toyota Highlander's undercarriage and using a detailed diagram can empower you to perform maintenance, repairs, and modifications with confidence. Always consult the vehicle's service manual and follow safety precautions to ensure a safe and successful project. Remember to double-check part numbers and specifications for your specific model year and trim level.
We have a high-resolution undercarriage diagram available for download. This diagram will provide a visual resource to help you better understand the layout of components beneath your vehicle. Use this resource to your advantage in your DIY projects and car maintenance endeavors. Now you are on your way to confidently working under your Highlander!