
Trailer Hitch And Wiring Installation
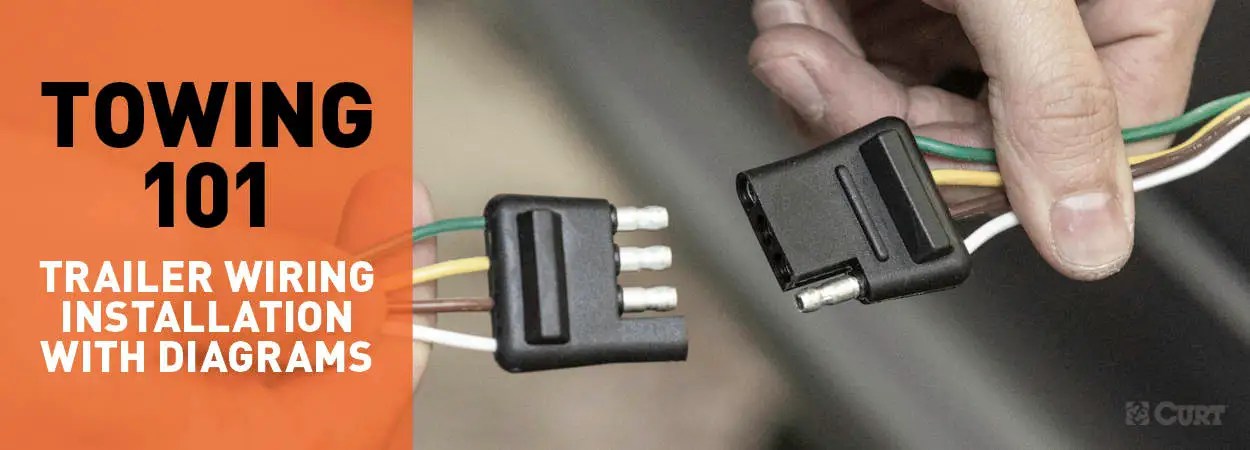
So, you're thinking about adding a trailer hitch and wiring harness to your vehicle? Excellent choice! Whether you're hauling a small utility trailer, a boat, or even just a bike rack, having a proper hitch setup significantly expands your vehicle's capabilities. This article will guide you through the process, assuming you've got some basic mechanical skills and are comfortable working with electrical systems. We'll focus on both the mechanical installation of the hitch itself and the often-tricky wiring required for trailer lights.
Understanding Trailer Hitches and Wiring: The Big Picture
Before we dive into the nuts and bolts (literally!), let's establish the purpose of this entire endeavor. A trailer hitch provides a secure connection point for your trailer. The wiring harness, on the other hand, allows your vehicle's brake lights, turn signals, and running lights to be mirrored on the trailer, ensuring safety and legal compliance on the road. Understanding the underlying principles makes troubleshooting much easier down the line.
Key Specs and Main Parts
Let's break down the key components. The main parts include:
- Trailer Hitch Receiver: This is the structural component that bolts to your vehicle's frame. Hitches are classified by their class (I-V, and sometimes beyond), which dictates the maximum weight they can handle. Choosing the right class is critical for safety. Consult your vehicle's owner's manual and the trailer manufacturer's specifications to determine the appropriate class.
- Ball Mount: This slides into the receiver and provides a mounting point for the trailer ball. Different ball mounts offer varying rises or drops to ensure the trailer sits level when connected.
- Trailer Ball: The actual ball that the trailer coupler attaches to. These come in various sizes (e.g., 1 7/8", 2", 2 5/16"). Match the ball size to your trailer's coupler.
- Wiring Harness: This connects to your vehicle's electrical system and provides the necessary signals for the trailer lights. Two common types are:
- 4-Pin Flat Connector: Provides basic lighting functions: ground, running lights, left turn/brake, and right turn/brake.
- 7-Pin Round Connector: Offers additional functions like reverse lights, electric brake control, and auxiliary power (often used for charging a trailer battery).
- Converter (if needed): Some vehicles have separate turn and brake lights (often called a three-wire system). A converter combines these signals into a single wire for the trailer (typically used with 4-pin connectors).
- Hardware: This includes bolts, nuts, washers, and potentially a safety chain attachment. Always use the hardware provided with the hitch, as it's been specifically designed and tested for the load requirements.
When choosing your hitch, pay attention to the Gross Trailer Weight (GTW) and Tongue Weight (TW) ratings. GTW is the maximum weight of the loaded trailer, while TW is the downward force exerted on the hitch by the trailer coupler. Exceeding these ratings is extremely dangerous.
Understanding Wiring Diagrams
Navigating wiring diagrams is essential for a successful installation. Here's a basic breakdown of common elements:
- Lines: Represent wires. Thicker lines might indicate heavier-gauge wires carrying more current.
- Colors: Each wire is typically identified by a color code (e.g., yellow, brown, green, white). These colors should match the wires in your vehicle's wiring harness.
- Symbols:
- Ground Symbol: Looks like an upside-down Christmas tree. Indicates a connection to the vehicle's chassis for grounding.
- Fuse Symbol: Often a zigzag line inside a rectangle. Shows the location of a fuse.
- Connector Symbol: Represents a plug or socket. Indicates where wires connect.
- Light Bulb Symbol: Represents tail lights, brake lights, and turn signals.
Pay close attention to the wire colors in the diagram and carefully match them to the corresponding wires in your vehicle. A multimeter is your best friend here – use it to verify the function of each wire (e.g., confirm that a wire is carrying power only when the brake pedal is pressed).
How It Works: The Electrical Flow
Essentially, the wiring harness taps into your vehicle's existing lighting circuits. When you activate your turn signal, for example, the signal is sent not only to your vehicle's turn signal lights but also through the wiring harness to the trailer's turn signal lights. The same principle applies to brake lights and running lights. The converter (if needed) takes separate turn and brake signals and combines them into a single signal for trailers that use a combined brake/turn light. Understanding this flow helps in troubleshooting. If your trailer lights aren't working, systematically trace the circuit back from the trailer to the vehicle, checking connections and wire integrity along the way.
Real-World Use: Troubleshooting Tips
Even with careful installation, problems can arise. Here are a few common issues and their potential solutions:
- No Lights at All: Check the ground connection first! A poor ground is the most common culprit. Also, check the fuses in both your vehicle and the wiring harness (if it has one).
- One Light Not Working: Inspect the wiring connections to that specific light. Look for corrosion or loose connections.
- Brake Lights Not Working: Verify that your vehicle's brake light switch is functioning properly.
- Lights Work Intermittently: Look for loose connections or frayed wires that are shorting out.
- Trailer Lights Cause Vehicle Lights to Malfunction: This could indicate an overloaded circuit or a grounding issue. Consider using a wiring harness with its own dedicated power source and fuses.
Before each trip, always test your trailer lights to ensure they're functioning correctly. Use a trailer light tester, or have a helper stand behind the trailer while you activate the lights.
Safety First: Handling Risky Components
Working with electrical systems can be dangerous. Always disconnect the negative terminal of your vehicle's battery before starting any wiring work. This prevents accidental shorts and electrical shocks. Be especially careful when working near the vehicle's airbag system. Disconnecting the battery can also reset the airbag system, preventing accidental deployment. Also, remember, never exceed the hitch's weight ratings. This can lead to catastrophic failure and serious accidents.
When routing wires, avoid sharp edges and moving parts. Use zip ties or wire loom to secure the wires and protect them from damage. Also, be sure to use properly sized wire connectors and crimping tools to ensure secure and reliable connections. Poor connections can lead to electrical problems and even fires.
Installing a trailer hitch and wiring harness is a rewarding project that can greatly enhance your vehicle's utility. By following these guidelines and taking your time, you can ensure a safe and reliable installation. Good luck!
We have prepared a detailed wiring diagram file to guide you in understanding the specific wiring configuration for trailer hitches. You can download it to aid your installation or troubleshooting process.