Trailer Wiring Adapter Round To Flat
Alright, let's dive into the world of trailer wiring adapters – specifically, how to go from a round connector (usually a 7-way RV blade connector) to a flat connector (typically a 4-way flat connector). This is a common need for anyone towing a trailer, and understanding how the adapter works, its wiring, and its limitations can save you time, money, and a whole lot of frustration. This article will break down the technical aspects in a way that's useful whether you're troubleshooting a faulty setup, planning a new wiring project, or just looking to expand your automotive knowledge.
Purpose of Round to Flat Trailer Wiring Adapters
The primary purpose of a round-to-flat trailer wiring adapter is to bridge the gap between vehicles with different trailer wiring systems. Imagine you have a truck equipped with a standard 7-way RV blade connector, but you want to tow a small utility trailer that only has a 4-way flat connector. Without an adapter, you're out of luck. This adapter allows you to connect the two systems, providing essential lighting functions like:
- Tail Lights: These illuminate when your vehicle's headlights are on, making the trailer visible in low-light conditions.
- Brake Lights: These signal when you're applying the brakes, alerting drivers behind you.
- Left Turn Signal: Indicates a left turn or lane change.
- Right Turn Signal: Indicates a right turn or lane change.
Adapters are crucial for ensuring safe and legal towing, as proper lighting is a requirement in most jurisdictions. Additionally, understanding the wiring differences can prevent damage to your vehicle's electrical system or the trailer's lighting system.
Key Specs and Main Parts
Let's look at the core components and their specifications:
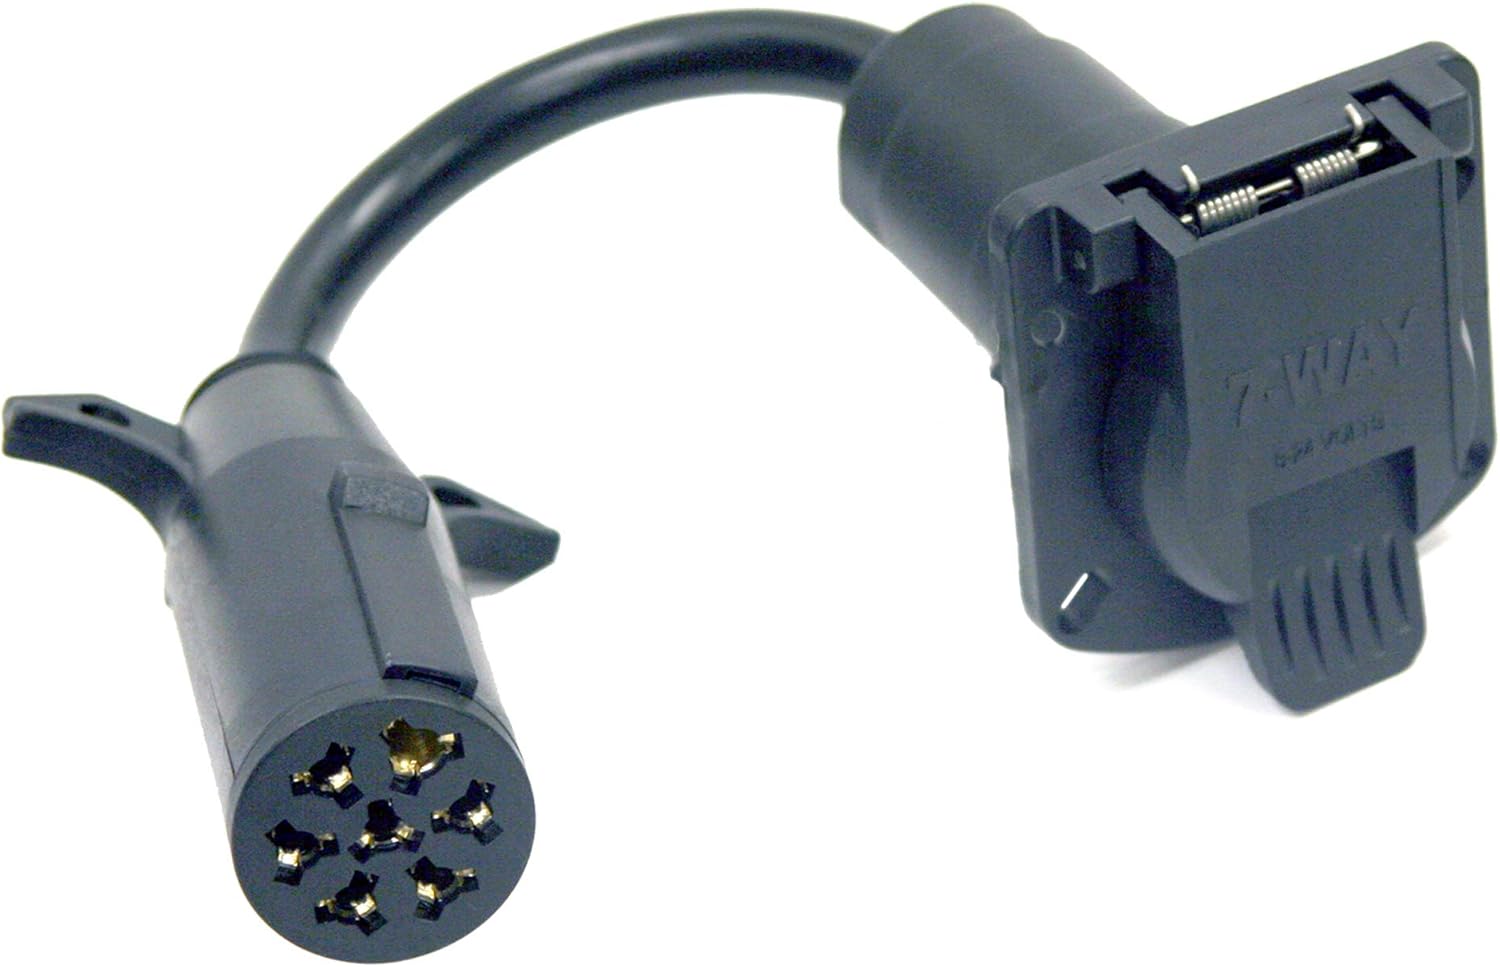
- 7-Way RV Blade Connector (Round): This is a common connector found on trucks and SUVs, providing connections for tail lights, brake lights, turn signals, 12V power, ground, electric brakes, and reverse lights.
- 4-Way Flat Connector: This is the most basic type of trailer connector, providing connections for tail lights, brake lights, and turn signals (which are often combined on a single wire in this configuration), and ground.
- Adapter Housing: This is the physical casing that holds the connectors and wiring together. It's typically made of plastic or rubber and designed to be weatherproof.
- Wiring Harness: The internal wires that make the electrical connections between the round and flat connectors. These are usually color-coded for easy identification.
- Potting Compound (Optional): Some higher-quality adapters use potting compound to seal the internal wiring and protect it from moisture and corrosion.
Important Specs: The adapter should be rated for the appropriate voltage (typically 12V DC) and current draw of the trailer's lights. Overloading the adapter can cause it to overheat and fail.
Understanding the Wiring Diagram: Symbols and Colors
A wiring diagram is a visual representation of the electrical connections within the adapter. Here's a breakdown of the common symbols and colors you'll encounter:
- Lines: Represent wires. Thicker lines may indicate heavier gauge wires.
- Circles or Dots: Represent connection points (where wires are joined).
- Rectangles: Can represent various components like fuses or relays (though these are typically not found in a simple adapter).
- Color Codes: This is the most important part. Here's a common color code for US standard wiring, though it's *always* best to double-check with the specific adapter's instructions:
- White: Ground
- Brown: Tail Lights (Running Lights)
- Yellow: Left Turn Signal & Brake Light (Combined on 4-way)
- Green: Right Turn Signal & Brake Light (Combined on 4-way)
- Blue: Electric Brakes (7-way only)
- Black: 12V Power (Auxiliary Power/Battery Charge - 7-way only)
- Red: Reverse Lights (7-way only)
Note: Wiring color codes can vary between manufacturers and even between different trailer models. Always refer to the specific wiring diagram for your adapter and trailer. A detailed diagram will clearly show which pin on the 7-way connector corresponds to which wire on the 4-way connector. We'll offer a downloadable wiring diagram at the end of this article to help clarify this.
How It Works: The Electrical Pathway
The adapter works by re-routing the signals from the 7-way connector to the appropriate pins on the 4-way connector. This is a passive process; the adapter doesn't amplify or modify the signals. It simply provides a pathway for the electrical current to flow.
Here's a simplified explanation:
- When you activate your vehicle's tail lights, the electrical current flows through the brown wire in the 7-way connector.
- The adapter routes this current to the brown wire in the 4-way connector, illuminating the trailer's tail lights.
- When you apply the brakes or activate a turn signal, the appropriate wires in the 7-way connector (yellow and green) send a signal.
- The adapter combines these signals and routes them to the yellow (left) and green (right) wires in the 4-way connector, activating the trailer's brake lights and turn signals.
- The white wire provides a common ground for all the circuits.
Because the 4-way connector combines the brake and turn signal functions, the adapter essentially merges those signals from the separate wires in the 7-way connector into a single wire for each side on the 4-way connector.
Real-World Use: Troubleshooting Tips
Here are some common problems and troubleshooting tips:
- No Lights at All:
- Check the ground connection (white wire). A poor ground is the most common cause of lighting problems. Clean any corrosion and ensure a secure connection.
- Check the vehicle's fuses related to trailer lighting. A blown fuse will prevent power from reaching the adapter.
- Inspect the adapter itself for damage, corrosion, or loose wires.
- Only Some Lights Work:
- Trace the wiring from the problematic light back to the adapter and then back to the vehicle. Look for breaks or loose connections.
- Use a multimeter to check for voltage at each pin on the adapter when the corresponding light function is activated (e.g., check for voltage on the yellow wire when the left turn signal is on).
- Lights Flicker or Dim:
- This can be caused by a poor ground connection or a loose wire.
- Check the trailer's wiring for corrosion or damage.
Using a Multimeter: A multimeter is your best friend for troubleshooting electrical problems. Learn how to use it to check for voltage, continuity (a closed circuit), and resistance. It will save you a lot of guesswork.
Safety Considerations
Working with electrical systems involves potential hazards. Here are some safety precautions:
- Disconnect the Battery: Before working on any wiring, disconnect the negative terminal of your vehicle's battery to prevent accidental shorts or electric shocks.
- Use Proper Tools: Use insulated tools designed for electrical work.
- Wear Safety Glasses: Protect your eyes from sparks or debris.
- Avoid Working in Wet Conditions: Water conducts electricity, increasing the risk of electric shock.
- The Vehicle Battery: Even a 12V battery can deliver high current, leading to burns or fires if shorted. Be careful when handling battery cables and terminals.
Warning: Improper wiring can damage your vehicle's electrical system, the trailer's lighting system, or even cause a fire. If you're not comfortable working with electrical systems, it's best to consult a qualified mechanic.
Conclusion
Understanding the inner workings of a round-to-flat trailer wiring adapter empowers you to troubleshoot issues, make informed decisions about your towing setup, and ensure safe operation. By grasping the wiring diagrams, key components, and potential problems, you can confidently tackle common trailer wiring challenges.
Remember to always double-check your wiring and consult the specific instructions for your adapter and trailer. We have a detailed wiring diagram file available for download to further assist you in your projects. Good luck, and happy towing!