Trailer Wiring Harness Installation Near Me
So, you're looking to tackle trailer wiring harness installation. Excellent! Whether you're adding a hitch receiver for weekend trips, hauling equipment for your business, or replacing a damaged harness, understanding the wiring is crucial. This guide breaks down everything you need to know about trailer wiring diagrams, ensuring you get the job done safely and correctly. We'll cover the key specs, how it all works, basic troubleshooting, and essential safety precautions. Think of this as your comprehensive resource before you start searching for "Trailer Wiring Harness Installation Near Me" and potentially paying someone else to do something you can definitely handle yourself with a little knowledge.
Purpose of a Trailer Wiring Diagram
A trailer wiring diagram is your roadmap for connecting your vehicle's electrical system to your trailer's. It provides a visual representation of how each wire should be connected to ensure proper operation of the trailer's lights – brake lights, turn signals, running lights, and sometimes reverse lights and auxiliary power. Without a diagram (or with an incorrect one), you risk malfunctioning lights, short circuits, and even damage to your vehicle's electrical system. The diagram helps in several key situations:
- Initial Installation: When installing a new trailer hitch and wiring harness.
- Repairs: Diagnosing and fixing malfunctioning trailer lights.
- Customization: Modifying the wiring for specific trailer needs, like adding backup lights.
- Learning: Understanding how automotive electrical systems function.
Key Specs and Main Parts
Before diving into the diagram itself, let's cover the essential components involved in trailer wiring:
- Trailer Connector: The physical interface between your vehicle and the trailer. The most common types are the 4-way flat, 5-way flat, 6-way round, and 7-way round (also known as a Bargman connector). The 4-way flat is the most basic, providing connections for ground, running lights, left turn/brake, and right turn/brake. The larger connectors add functions like auxiliary power, electric brakes, and reverse lights.
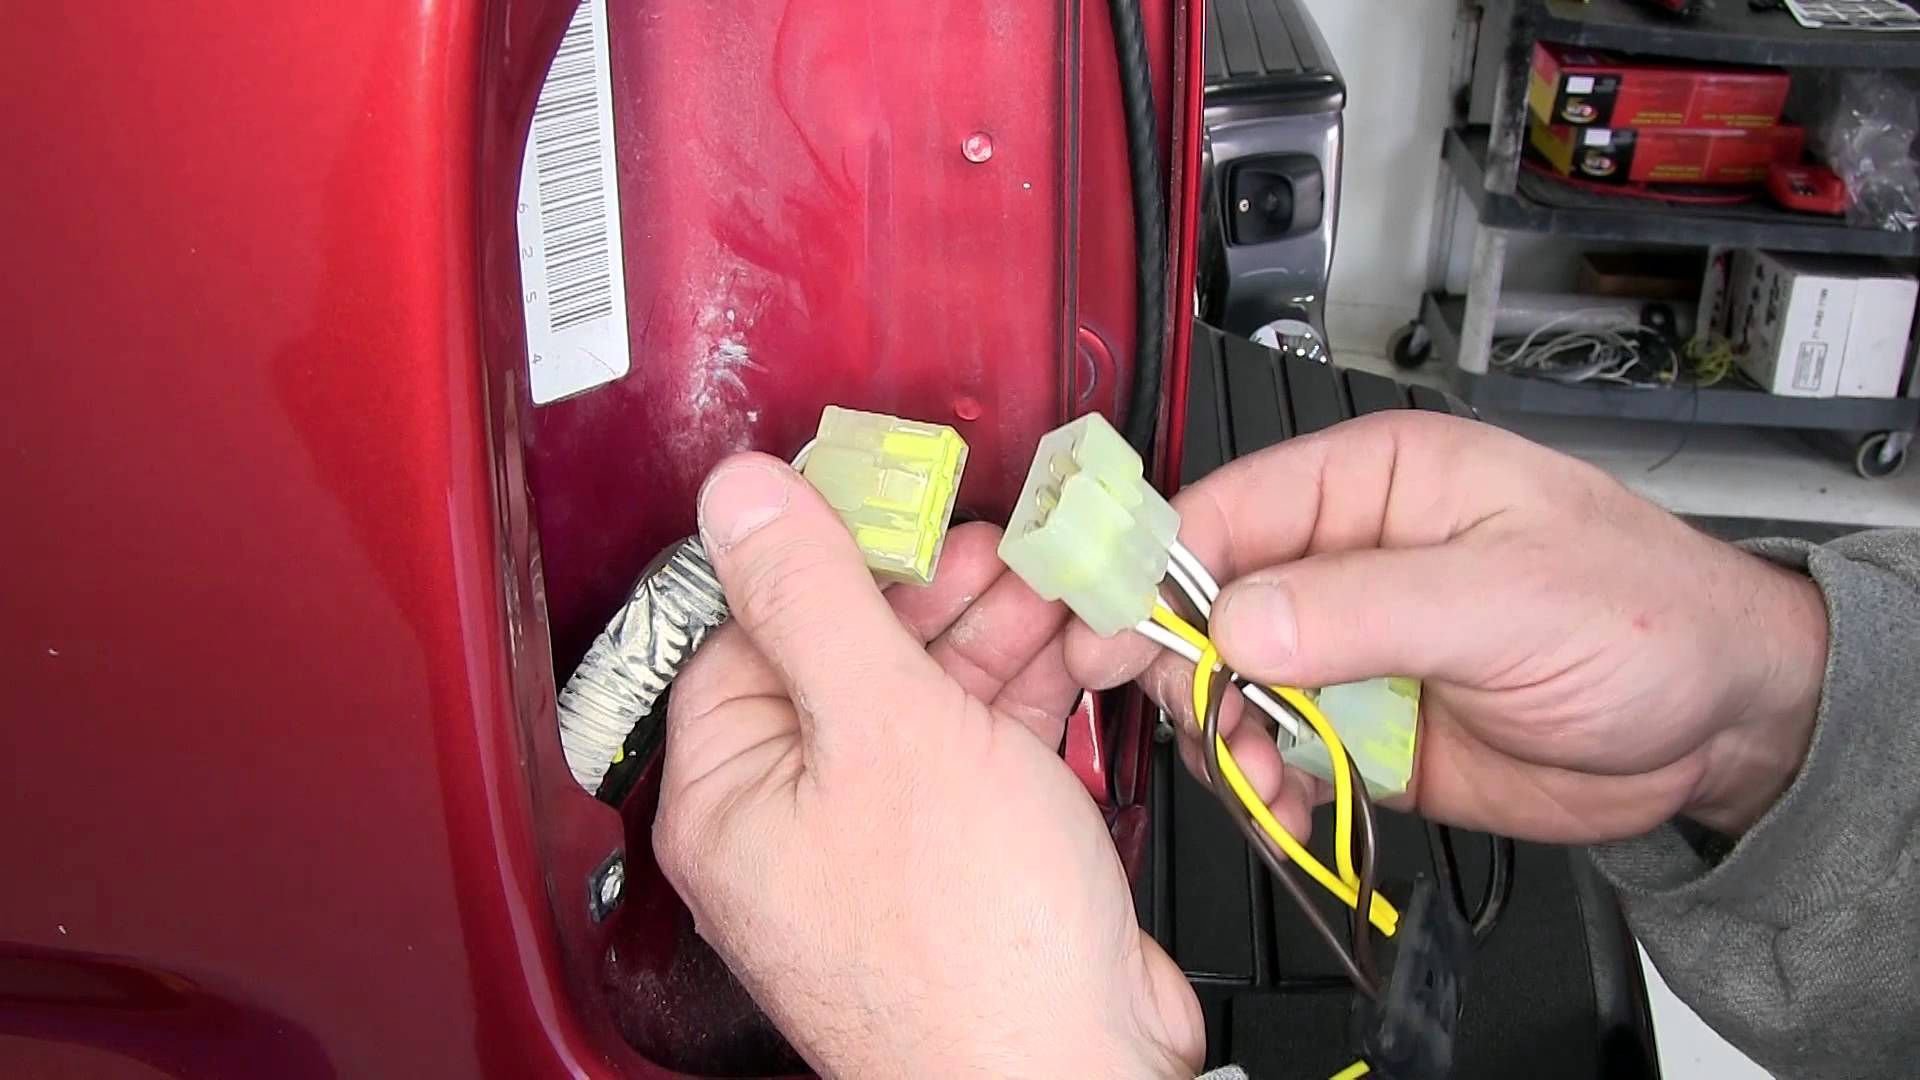
- Vehicle-Side Connector: This connector plugs into the trailer connector. It's connected to your vehicle's wiring harness, typically tapping into the tail light circuits. Some vehicles have a factory-installed tow package with a dedicated connector, making installation significantly easier.
- Wiring Harness: The collection of wires that connect the vehicle-side connector to the vehicle's electrical system. Quality harnesses use color-coded wires for easy identification and should be properly insulated to prevent shorts.
- Converter (if needed): Some vehicles have separate turn signal and brake light circuits (common in older vehicles). A converter combines these signals into a single circuit for the trailer lights.
- Fuses: Essential for protecting the vehicle's electrical system and the trailer wiring from overloads. Always use the correct amperage fuse as specified by the harness manufacturer.
- Grounding Wire: A crucial wire that provides a return path for the electrical current. A poor ground is a common cause of trailer light problems. Ensure a solid, clean connection to the vehicle's frame.
Understanding Trailer Wiring Diagram Symbols
Decoding a trailer wiring diagram requires understanding the symbols used. Here's a breakdown of common elements:
- Lines: Represent wires. The thickness of the line doesn't usually indicate wire gauge.
- Colors: Each wire is assigned a color code (e.g., YEL for yellow, GRN for green, BRN for brown, WHT for white). These colors are standardized to help you identify and connect the wires correctly. The color codes are usually printed directly on the diagram.
- Circles or Rectangles with numbers/letters: These represent the pins within the trailer connector. The number or letter corresponds to a specific function. For example, on a 4-way flat connector, you might see pin 1 labeled "Ground," pin 2 labeled "Left Turn/Brake," and so on.
- Ground Symbol (typically three horizontal lines): Indicates the grounding point. Always connect the grounding wire to a clean, metal surface on the vehicle's frame.
- Icons for Lights: Simplified drawings of tail lights, brake lights, and turn signals.
- Fuse Symbol: Represents a fuse. The diagram will typically indicate the required amperage for each fuse.
Pay close attention to the wire colors and pin assignments. A slight error can lead to significant problems. Always double-check your connections against the diagram.
How Trailer Wiring Works
The basic principle is simple: the vehicle's electrical signals (brake, turn, running lights) are transmitted through the wiring harness to the trailer. When you apply the brakes in your vehicle, the brake light signal travels through the harness to the trailer's brake lights, illuminating them. Similarly, when you activate a turn signal, the corresponding signal is sent to the trailer's turn signal light. The running lights are activated whenever the vehicle's headlights are on.
The ground wire provides a return path for the electrical current, completing the circuit. A good ground is essential for proper operation. Without it, the lights will be dim, intermittent, or not work at all.
More advanced connectors, like the 7-way round, add functionality such as electric brakes. When you apply the brakes in your vehicle, a signal is sent to the trailer's electric brake controller (if equipped), which activates the trailer's brakes. Auxiliary power can be used to charge a trailer battery or power other accessories on the trailer.
Real-World Use: Basic Troubleshooting
Even with a diagram, problems can arise. Here are some common issues and troubleshooting tips:
- No lights at all: Check the fuses. A blown fuse is often the first sign of a problem. Also, verify the ground connection is secure and clean.
- Dim lights: Poor ground connection. Clean the connection and re-tighten it. Also, check for corroded connectors.
- One light not working: Check the bulb. If the bulb is good, inspect the wiring for damage or loose connections.
- Lights work intermittently: Loose connections or corroded connectors. Clean and tighten all connections.
- Brake lights and turn signals not working properly (especially with separate circuits in the vehicle): The converter may be faulty.
- Short circuit (fuse blows repeatedly): Inspect the wiring for damaged insulation or exposed wires that are touching metal.
Use a multimeter to check for voltage and continuity. This is a valuable tool for diagnosing electrical problems. If you're not comfortable using a multimeter, consult a qualified mechanic.
Safety Precautions
Working with electrical systems can be dangerous. Always take the following precautions:
- Disconnect the negative battery terminal: Before starting any wiring work, disconnect the negative battery terminal to prevent accidental shorts.
- Use proper tools: Use insulated tools to prevent electric shock.
- Wear safety glasses: Protect your eyes from sparks and debris.
- Use the correct gauge wire: Using wire that is too thin can cause overheating and fires. Refer to the harness manufacturer's specifications.
- Properly insulate all connections: Use heat shrink tubing or electrical tape to insulate all connections to prevent shorts.
- Be careful when working near airbags: Some wiring may be located near airbag sensors. Consult your vehicle's service manual before working in these areas. A discharged airbag can cause serious injury.
- Consult a professional if needed: If you're not comfortable working with electrical systems, consult a qualified mechanic. It's better to be safe than sorry.
The most risky components involve tapping into your vehicle's existing wiring. Incorrectly splicing or grounding wires can damage your vehicle's computer or other sensitive electronic components. Pay close attention to the wiring diagram and double-check your connections.
With the right knowledge and precautions, installing a trailer wiring harness is a manageable DIY project. Remember to double-check your work, and don't hesitate to seek professional help if you encounter difficulties. A properly installed wiring harness will ensure safe and reliable towing for years to come.
And remember, we have the diagram file available for download. Having it in hand will be invaluable as you work through your installation. Good luck!