
Vacuum Line 4.3 Vortec Vacuum Diagram
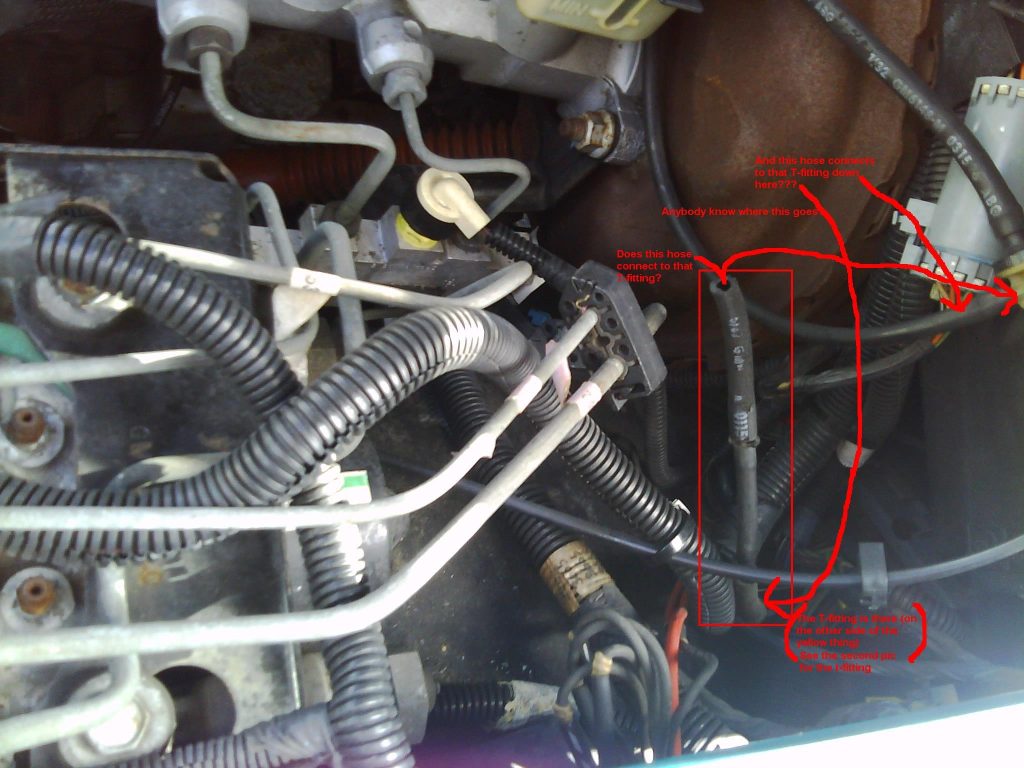
Alright folks, let's dive into the sometimes-mysterious world of vacuum lines on the venerable 4.3L Vortec engine. This engine, found in a wide array of GM trucks and vans from the mid-90s through the early 2000s, relies heavily on vacuum for various functions. Understanding the vacuum line diagram is crucial whether you're tackling a rough idle, diagnosing a check engine light, or just trying to get a better handle on your engine's operation. Consider this your deep dive into the 4.3 Vortec vacuum system.
Purpose of the Vacuum Line Diagram
So, why bother with a vacuum line diagram at all? Several reasons:
- Repair and Maintenance: The most common reason. Cracked, brittle, or disconnected vacuum lines are a frequent source of problems. The diagram shows you exactly where each line should connect. Without it, you're just guessing.
- Troubleshooting: A vacuum leak can mimic a wide range of other engine problems. The diagram allows you to systematically check each line and component, eliminating potential causes.
- Engine Swaps and Modifications: If you're working on an engine swap or making modifications that affect vacuum lines (like installing an aftermarket intake), the diagram is essential for ensuring everything is connected correctly.
- Learning Engine Operation: Understanding the vacuum system is key to understanding how your engine operates. It helps you see how various components interact and influence engine performance.
Key Specs and Main Parts
Before we get into the nitty-gritty of the diagram itself, let's identify some of the key components and their role in the vacuum system. Keep in mind that the exact configuration can vary slightly depending on the year and model of your vehicle, but the fundamentals remain the same.
- Vacuum Source: Typically, the intake manifold. This is where the vacuum originates. The engine's piston movement creates a vacuum within the cylinders during the intake stroke, and this vacuum is tapped for various purposes.
- PCV Valve (Positive Crankcase Ventilation): A crucial component for emissions control. It draws crankcase fumes (blow-by gases that leak past the piston rings) into the intake manifold to be burned, reducing pollution and preventing pressure buildup in the crankcase. A faulty PCV valve or a leak in its associated lines is a common cause of vacuum-related issues.
- EGR Valve (Exhaust Gas Recirculation): Another emissions control device. It recirculates a small amount of exhaust gas back into the intake manifold to lower combustion temperatures and reduce NOx (oxides of nitrogen) emissions. The EGR valve is often vacuum-operated.
- EVAP System (Evaporative Emission Control): Prevents fuel vapors from escaping into the atmosphere. It typically includes a charcoal canister to absorb fuel vapors, a purge valve to release those vapors into the engine, and various vacuum lines to control the system.
- Vacuum Reservoir: A small container that stores vacuum, providing a more stable source for vacuum-operated accessories, especially when the engine is under heavy load and vacuum levels are lower.
- HVAC Controls: The heating, ventilation, and air conditioning (HVAC) system often relies on vacuum to control various actuators that direct airflow.
- Power Brake Booster: Assists the driver in applying the brakes. It uses vacuum to amplify the force applied to the brake pedal.
- Transmission Modulator (if applicable): On some older vehicles with automatic transmissions, a vacuum modulator is used to control shift timing based on engine load.
Understanding the Vacuum Line Diagram Symbols
The diagram itself uses a set of symbols to represent different components and connections. Here's a breakdown of what you might encounter:
- Solid Lines: Represent vacuum lines themselves. The thickness might vary depending on the source of the diagram, but it generally doesn't indicate anything specific about the line itself.
- Dashed Lines: Often indicate electrical connections or, in some cases, less critical vacuum lines or control signals. Always double-check the key/legend of the diagram.
- Colored Lines: Some diagrams use color-coded lines to distinguish between different circuits or to highlight specific functions. The legend will define what each color represents (e.g., red for EGR, blue for EVAP).
- Component Symbols: Each component (PCV valve, EGR valve, canister purge valve, etc.) is represented by a specific symbol. These symbols are usually labeled or cross-referenced in the diagram's key.
- Arrows: Indicate the direction of airflow or vacuum.
- T-Connectors: Show where one vacuum line splits into two or more lines.
- Check Valves: Allows flow in only one direction. Typically indicated by a symbol that looks like a small valve with an arrow.
How the Vacuum System Works
The basic principle is simple: the engine creates vacuum, and that vacuum is used to operate various components. The 4.3 Vortec uses the intake manifold vacuum as its primary source. The vacuum lines act as pathways, connecting the vacuum source to the components that need it. A good example is the PCV valve. The engine vacuum pulls fumes from the crankcase, through the PCV valve, and into the intake manifold for combustion. Similarly, the EGR valve uses vacuum to open and allow exhaust gas to recirculate. The amount of vacuum applied to each component is often controlled by solenoids or valves, which are in turn controlled by the engine control module (ECM) based on various factors such as engine temperature, load, and speed.
The EVAP system uses vacuum to purge the charcoal canister. When the ECM determines it's safe to do so, it opens the canister purge valve, allowing engine vacuum to draw fuel vapors from the canister and into the intake manifold. This prevents fuel vapors from being released into the atmosphere.
The HVAC system employs vacuum-operated actuators to control blend doors and mode doors, directing airflow to different vents (e.g., defrost, panel, floor). A vacuum leak in the HVAC system can result in the inability to switch between vent modes.
Real-World Use: Basic Troubleshooting Tips
Here's how you can use the vacuum line diagram for troubleshooting:
- Visual Inspection: Start by visually inspecting all vacuum lines. Look for cracks, breaks, or disconnections. Brittle or hardened lines are a sign that they need to be replaced.
- Listen for Hissing: With the engine running, listen for hissing sounds, which can indicate a vacuum leak. Use a length of hose as a stethoscope to pinpoint the source of the leak.
- Use a Vacuum Gauge: A vacuum gauge can be connected to a manifold vacuum port to measure the engine's vacuum level. An abnormally low reading can indicate a vacuum leak. Consult your vehicle's service manual for the correct vacuum readings.
- Smoke Testing: A smoke machine can be used to inject smoke into the vacuum system. The smoke will escape from any leaks, making them easy to identify.
- Component Testing: Use a vacuum pump to test individual vacuum-operated components (e.g., EGR valve, canister purge valve). Apply vacuum to the component and see if it operates correctly.
Safety Considerations
While working with vacuum lines is generally safe, there are a few things to keep in mind:
- Hot Engine Components: Be careful not to touch hot engine components, such as the exhaust manifold, while working on the vacuum system.
- Fuel Lines: Be aware of the location of fuel lines. Damaging a fuel line could create a fire hazard.
- Electrical Components: Avoid damaging electrical wiring or connectors while working on the vacuum system.
- Brake Booster: Be extremely careful when working near the power brake booster vacuum line. A leak in this line can significantly reduce braking performance. Always ensure the line is properly connected and in good condition.
- Eye Protection: Wear eye protection to prevent debris from getting into your eyes.
Vacuum systems, while seemingly simple, are integral to the operation and performance of your 4.3 Vortec engine. Understanding the vacuum line diagram is a key skill for any DIY mechanic. Following the diagnostic steps will help resolve almost any Vacuum related issues.
We have a detailed, printable vacuum line diagram specifically for the 4.3 Vortec. It's an invaluable tool to have on hand. You can download it HERE.