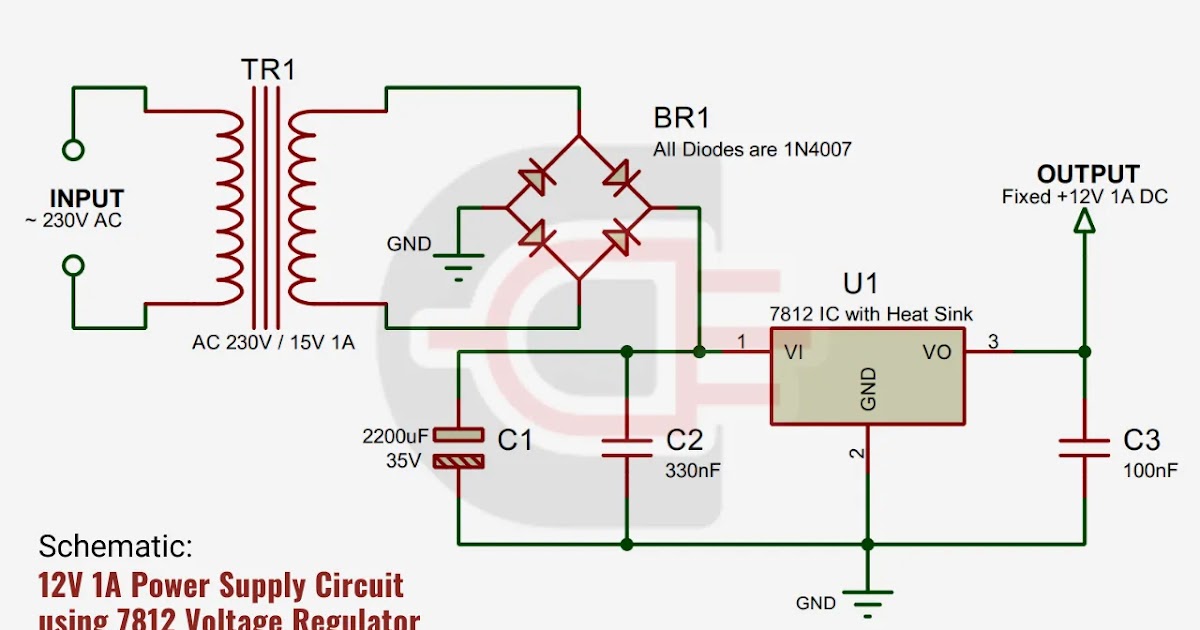
Voltage Regulator Connection Diagram
Alright, let's dive into the world of voltage regulator connection diagrams. If you're the kind of person who likes to tinker with your car's electrical system – whether you're chasing down a charging issue, planning an alternator upgrade, or just want to understand how everything clicks – this guide is for you. We'll break down what a connection diagram shows, how to read it, and some real-world troubleshooting tips.
Why This Diagram Matters
Think of a voltage regulator connection diagram as the blueprint for how your voltage regulator interacts with the rest of your car's electrical system. It's crucial for several reasons:
- Troubleshooting: When you're battling a battery that won't charge, dimming headlights, or other electrical gremlins, the diagram helps you trace the flow of electricity and identify potential problem spots.
- Repairs and Replacements: Need to replace a faulty voltage regulator or repair damaged wiring? The diagram shows you exactly where each wire should go, minimizing the risk of incorrect connections and potential damage.
- Modifications and Upgrades: Planning to install a higher-output alternator? Understanding the voltage regulator's connections is essential to ensure compatibility and avoid overloading the system.
- Learning and Understanding: Even if you're not actively working on your car, studying the diagram is a great way to deepen your understanding of automotive electrical systems.
Key Specs and Main Parts
Before we get into the nitty-gritty of the diagram, let's cover the basics. The voltage regulator's job is to maintain a stable voltage output from the alternator, typically around 13.8 to 14.4 volts. This is essential for charging the battery and powering all the electrical components in your car.
Here are the main parts typically depicted in a voltage regulator connection diagram:
- Voltage Regulator: The heart of the system, controlling the alternator's output. This may be internal to the alternator (common in modern vehicles) or external.
- Alternator: The device that generates electrical power while the engine is running. Look for connections labeled "Field" or "Stator."
- Battery: The energy storage device. Positive (+) and negative (-) terminals are always shown.
- Ignition Switch: Controls power to the vehicle's circuits, including the voltage regulator in many cases. This is where the “Ign” terminal connects.
- Ground: The common return path for electricity. Often shown as a chassis ground.
- Fuses and Relays: Protective devices that interrupt the circuit if an overload occurs. Their specific function within the diagram is crucial.
- Wiring Harness: The bundle of wires connecting all the components.
Key specs you might find on the diagram or related documentation:
- Voltage Rating: Typically 12V or 24V depending on the vehicle.
- Current Rating: The maximum current the regulator can handle, measured in amps (A).
- Operating Temperature Range: The temperature range within which the regulator functions correctly.
- Wiring Gauge: The thickness of the wires used in the circuit. Using the correct gauge is crucial for safety and performance.
Symbols – Decoding the Diagram
Understanding the symbols is crucial to interpreting the connection diagram. Here's a breakdown of common elements:
- Lines: Represent wires. Solid lines usually indicate standard wiring, while dashed lines might represent shielded or specialized wiring. The thickness of the line doesn't always directly correlate to wire gauge on the diagram itself but can be indicated separately in notes.
- Colors: Each wire is typically assigned a color code (e.g., Red, Black, Blue/White). Always double-check the color codes against the actual wiring in your car to ensure accuracy.
- Icons: These represent various components:
 Resistor: A zig-zag line.
 Capacitor: Two parallel lines.
 Diode: A triangle pointing to a line.
- Circle with a letter: Represents a connection point or terminal. For example, "B+" for battery positive, "IGN" for ignition, "FLD" for field.
- Ground symbol: Usually looks like a series of horizontal lines getting progressively shorter, or a downward-pointing triangle.
- Notes: Pay close attention to any notes or callouts on the diagram. These often provide important details about specific connections, wiring gauges, or component specifications.
How It Works
The voltage regulator acts as a gatekeeper for the alternator's field current. The alternator produces AC voltage, which is then rectified (converted to DC) by diodes. The voltage regulator senses the output voltage and adjusts the amount of current flowing through the alternator's field winding. More field current means higher output voltage, and vice versa.
Here's a simplified breakdown:
- The voltage regulator receives power, usually from the ignition switch.
- It monitors the battery voltage.
- If the battery voltage is low, the regulator increases the field current to the alternator, causing it to produce more voltage.
- If the battery voltage is high, the regulator decreases the field current, reducing the alternator's output.
- This feedback loop ensures a stable voltage output, regardless of the engine speed or electrical load.
Real-World Use – Basic Troubleshooting Tips
Here are some common problems you can diagnose using a voltage regulator connection diagram:
- Battery Not Charging: Use a multimeter to check the voltage at the alternator's output terminal. Then, check the wiring between the alternator and the battery, paying close attention to connections and grounds. The diagram will show you the exact path to test. Also, check the fuse that protects the circuit.
- Overcharging: If the battery is constantly being overcharged (voltage above 14.7V), the voltage regulator itself is likely faulty. Consult the diagram to verify the regulator's connections and grounds.
- Dimming Headlights or Erratic Electrical Behavior: This could indicate a poor ground connection. Use the diagram to locate all the ground points for the voltage regulator and alternator, and clean and tighten them.
- Blown Fuses: Repeatedly blown fuses indicate a short circuit. Use the diagram to isolate the affected circuit and trace the wiring for any damaged insulation or shorts to ground.
Using a Multimeter: The multimeter is your best friend when troubleshooting electrical issues. Learn how to use it to measure voltage, current, and resistance. The diagram will show you the specific points to test.
Safety – Risky Components
Working with automotive electrical systems can be dangerous. Always disconnect the negative battery cable before working on any electrical components. This prevents accidental short circuits and potential electrical shocks.
Specific areas of concern:
- Alternator Output Terminal: This terminal carries high voltage and current. Avoid touching it while the engine is running.
- High-Current Wiring: The wiring between the alternator and the battery can carry a significant amount of current. Ensure that all connections are clean and tight, and that the wiring is properly insulated.
- Faulty Voltage Regulator: A malfunctioning voltage regulator can cause overcharging, which can damage the battery and other electrical components. Replace a faulty regulator immediately.
Working Near the Battery: Batteries can release explosive hydrogen gas, especially when charging. Ensure proper ventilation when working near the battery. Wear safety glasses to protect your eyes from acid splashes.
By understanding the connection diagram and taking proper safety precautions, you can confidently diagnose and repair voltage regulator and charging system issues.
We have the voltage regulator connection diagram file described in this article. You can download it here.