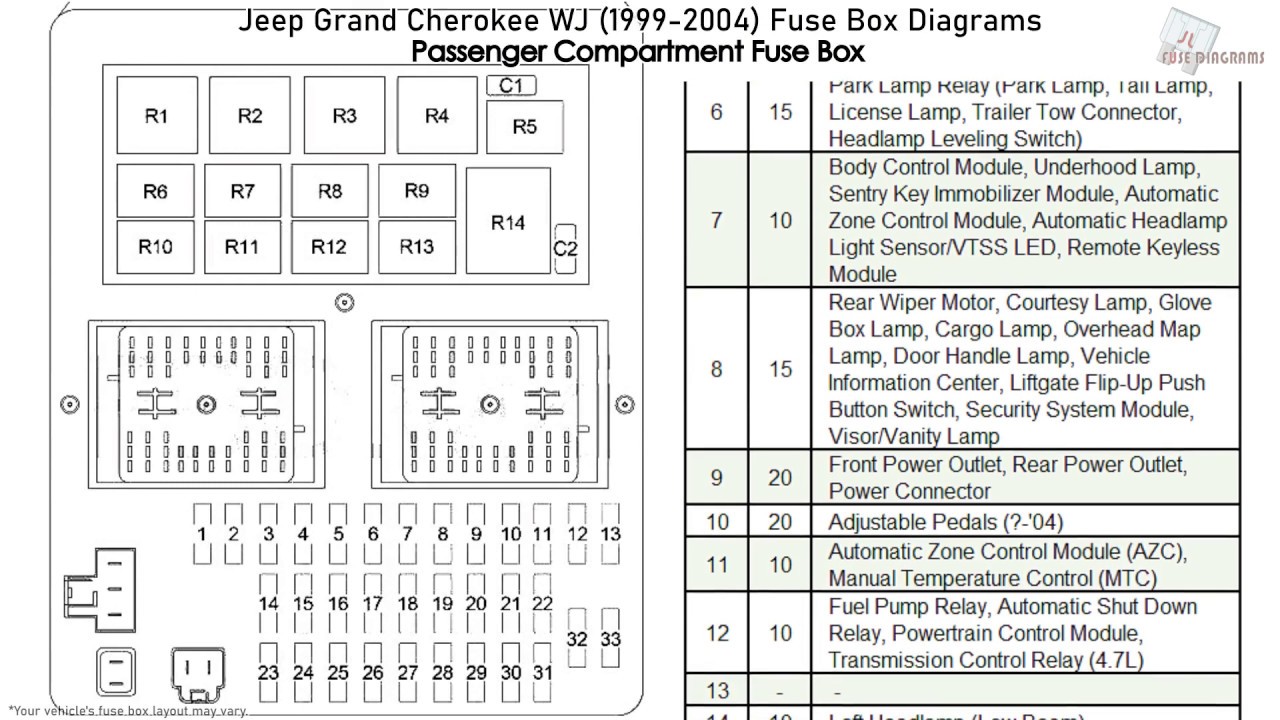
Wiring Diagram For 2004 Jeep Grand Cherokee
If you're tackling electrical repairs or modifications on your 2004 Jeep Grand Cherokee, understanding the wiring diagram is absolutely crucial. Forget blindly probing wires with a multimeter – a wiring diagram is your roadmap to the electrical system, allowing you to diagnose faults, trace circuits, and confidently install aftermarket components. This isn't just about fixing a blown fuse; it's about truly understanding how your Jeep's electrical system operates.
Why Bother with the Wiring Diagram?
A wiring diagram is more than just a pretty picture. It's an invaluable resource for several reasons:
- Troubleshooting Electrical Issues: Pinpoint shorts, opens, and other faults quickly and efficiently. Avoid the time-consuming and often inaccurate process of guessing.
- Installing Aftermarket Accessories: Properly wire in new stereos, lights, alarms, or other electrical modifications without damaging existing circuits.
- Understanding Vehicle Systems: Grasp the intricacies of how various components interact within the vehicle's electrical network.
- Performing Accurate Repairs: Replace damaged wiring harnesses or connectors with confidence.
- Preventing Future Problems: By understanding the system, you're less likely to make mistakes that could lead to future electrical issues.
Key Specs and Main Parts of the 2004 Jeep Grand Cherokee Wiring Diagram
The 2004 Jeep Grand Cherokee's wiring diagrams are typically divided into sections based on specific systems within the vehicle. Understanding the main components is the first step to decoding the diagrams.
- Power Distribution: Includes the battery, alternator, starter, fuses, and relays. This section outlines how power is distributed throughout the vehicle. The battery, typically a 12V system, is the heart of it all. The alternator keeps the battery charged while the engine is running.
- Engine Management System (EMS): Covers the engine control module (ECM), sensors (oxygen sensors, crankshaft position sensor, etc.), and actuators (fuel injectors, ignition coils, etc.). This is a complex section, and understanding it requires knowledge of engine control principles. The ECM is the "brain" that controls many aspects of the engine's operation.
- Transmission Control System: Deals with the transmission control module (TCM) and related sensors and solenoids. The TCM manages gear shifting and other transmission functions.
- Body Control Module (BCM): Controls various body-related functions such as lights, wipers, power windows, and door locks.
- Instrument Cluster: Shows wiring for gauges, warning lights, and other indicators on the instrument panel.
- Anti-lock Braking System (ABS): Outlines the wiring for the ABS control module, wheel speed sensors, and hydraulic unit.
- Airbag System: Covers the airbag control module, sensors, and airbags themselves. This system requires extreme caution due to the potential for accidental deployment.
- Lighting System: Includes headlights, taillights, turn signals, and interior lights.
- Audio System: Shows wiring for the radio, speakers, and antenna.
- HVAC System: Covers the heating, ventilation, and air conditioning system, including the blower motor, compressor, and controls.
Decoding the Symbols: Lines, Colors, and Icons
Wiring diagrams use a standardized set of symbols and conventions to represent electrical components and connections. Learning to interpret these symbols is essential for understanding the diagram.
- Lines: Solid lines represent wires. Dashed lines often indicate shielded cables or control signals. Line thickness can sometimes indicate wire gauge (thicker lines for higher current carrying capacity).
- Colors: Each wire is typically identified by a color code (e.g., BLU for blue, RED for red, GRN for green). These codes are crucial for identifying the correct wire in the vehicle. Sometimes, wires have a primary color and a secondary stripe color (e.g., BLU/WHT for blue with a white stripe).
- Components:
- Resistors: Represented by a zigzag line.
- Capacitors: Shown as two parallel lines.
- Diodes: A triangle pointing to a line.
- Relays: A coil with switch contacts. The coil activates the switch when energized.
- Fuses: A squiggly line within a rectangle or a stylized representation of a fuse.
- Grounds: Often depicted as a series of horizontal lines decreasing in length. This indicates a connection to the vehicle's chassis.
- Connectors: Represented by circles or squares with numbers or letters indicating pin assignments. These are crucial for identifying where wires connect to each other.
- Switches: Depicted as a movable arm that connects or disconnects circuits.
- Numbers and Letters: These markings indicate circuit numbers, component IDs, and connector pin numbers. They are essential for tracing circuits and identifying specific components.
How It Works: Following the Flow of Electricity
A wiring diagram is a visual representation of the electrical circuits within the vehicle. To understand how it works, imagine electricity flowing from the battery, through the wiring, to various components, and then back to ground, completing the circuit. The diagram shows the path of this electrical flow. The flow is typically from a positive voltage source (like the battery) through a load (like a light bulb or motor) to ground (the negative terminal of the battery).
By tracing the lines on the diagram, you can see which components are connected to each other and how they are powered. You can also identify potential points of failure, such as connectors, splices, and individual components.
Real-World Use: Basic Troubleshooting Tips
Here are a few basic troubleshooting tips using the wiring diagram:
- No Power to a Component: Use the diagram to trace the power supply to the component. Check fuses, relays, and wiring connections along the way. A multimeter can be used to verify voltage at each point.
- Short Circuit: If a fuse keeps blowing, there's likely a short circuit to ground. Use the diagram to identify potential areas where the wiring might be damaged or where a component might be failing internally.
- Open Circuit: If a circuit is not working at all, there may be an open circuit (a break in the wire). Use the diagram to trace the circuit and check for damaged wires or loose connections.
- Incorrect Wiring: When installing aftermarket accessories, double-check your wiring against the diagram to ensure you've connected to the correct wires. Using a test light or multimeter to verify voltage and continuity is always a good practice.
Safety First: Highlighting Risky Components
Working with automotive electrical systems can be dangerous. Always disconnect the negative battery cable before starting any electrical work. The airbag system is particularly hazardous. Never probe or disconnect airbag components unless you are specifically trained to do so. Accidental deployment of an airbag can cause serious injury. High-current circuits, such as the starter motor circuit, can also be dangerous. Exercise extreme caution when working with these circuits.
Always double-check your work and test the circuits thoroughly before reconnecting the battery. Improper wiring can damage components and even cause a fire.
Remember that the wiring diagram is just a tool. Use it in conjunction with your knowledge of automotive electrical systems and safe working practices.
We have the complete 2004 Jeep Grand Cherokee wiring diagram file available for download. Having the complete document will be far more useful that attempting to trace segments in the car. With this file, you are now well prepared to navigate the electrical system of your 2004 Jeep Grand Cherokee and confidently tackle any electrical repair or modification that comes your way.