Wiring Splitter Seven Way To Seven Way-4 Prong
Alright, let's dive into understanding the wiring of a 7-way to 7-way 4-prong splitter, a common, yet sometimes confusing, component in vehicle electrical systems. This guide is designed to help you, the experienced DIYer, navigate the intricacies of this connector, whether you're troubleshooting trailer lights, adding accessories, or simply expanding your automotive electrical knowledge. We'll break down the diagram, the functionality, and the safety considerations. By the end, you'll have a solid grasp on how this system works and how to tackle basic repairs.
Purpose
The primary purpose of a 7-way to 7-way 4-prong splitter is to extend or duplicate existing 7-way trailer connections while retaining compatibility with older 4-prong trailer connections. This is extremely useful for several situations:
- Towing Multiple Trailers: If you need to tow two trailers that both require 7-way connections, or one trailer and retain the ability to connect a smaller trailer with a 4-prong connector, this splitter allows you to do so.
- Adding Accessories: You might want to power additional accessories, like auxiliary lighting or brake controllers, on your vehicle or trailer without disrupting the primary trailer wiring.
- Diagnostic Testing: This splitter can be used as a testing point to isolate wiring problems within your trailer or vehicle's electrical system. By inserting the splitter, you can test each connection independently.
- Flexibility: It provides the flexibility to connect a wider range of trailers, regardless of their wiring configuration.
Key Specs and Main Parts
Understanding the key specifications and components is crucial for proper installation and troubleshooting. Here's a breakdown:
- 7-Way Connector (RV Blade Type): This is the standard connector for modern trailers, providing connections for running lights, turn signals, brake lights, electric brakes, auxiliary power (12V+), and ground.
- 4-Prong Connector (Flat Type): The older, simpler connector used primarily for basic lighting functions on smaller trailers. It carries connections for running lights, left turn/brake, right turn/brake, and ground.
- Wiring Harness: The bundle of wires connecting the plugs, typically made of copper strands insulated with PVC or a similar material. Wire gauge (thickness) is important; thicker gauges (lower numbers) can carry more current. 12-gauge or 14-gauge wiring is common for trailer circuits.
- Splitter Body: The housing that holds the connectors and wiring, often made of durable plastic or rubber to withstand environmental conditions. It's crucial that this is weatherproofed to prevent corrosion.
- Terminals: Metal connectors within the plugs and splitter body where the wires make contact. These need to be secure and corrosion-free for reliable electrical connections. Look for crimped or soldered connections for the best reliability.
- Fuse Protection: While not part of the splitter itself, proper fusing on the vehicle's side of the connection is essential to protect the circuits from overloads and short circuits.
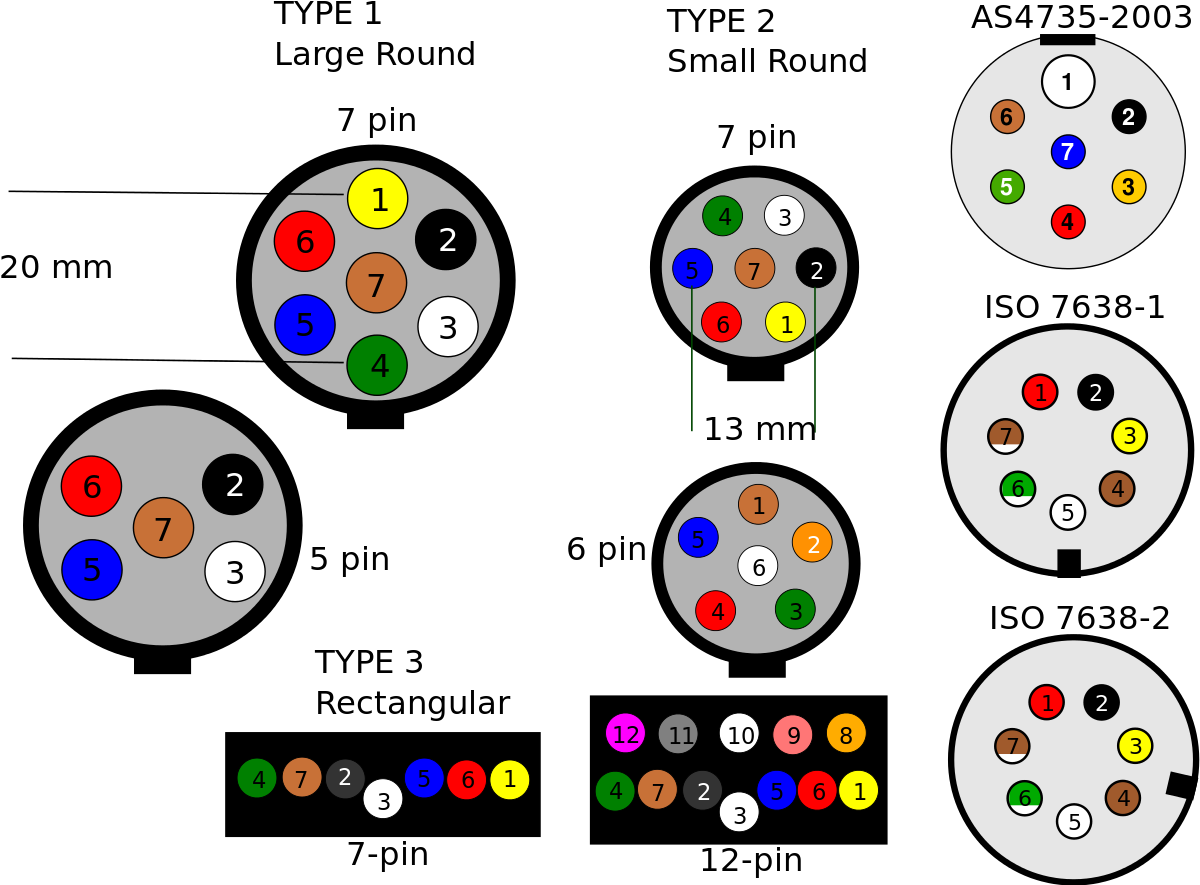
Pin Assignments (7-Way RV Blade)
Knowing the pin assignments is critical for troubleshooting. Here's a common standard. Note that some manufacturers might deviate slightly, so always verify with a wiring diagram for your specific vehicle or trailer.
- White: Ground
- Blue: Electric Brakes
- Yellow: Left Turn/Stop
- Green: Right Turn/Stop
- Brown: Tail/Running Lights
- Black: 12V+ Auxiliary Power (Battery Charge)
- Red: Auxiliary (Often Reverse Lights)
Pin Assignments (4-Prong Flat)
- White: Ground
- Brown: Tail/Running Lights
- Yellow: Left Turn/Stop
- Green: Right Turn/Stop
Symbols
Understanding the symbols used in a wiring diagram is key to interpreting it correctly. Here are some common symbols you'll encounter:
- Solid Line: Represents a wire. The thickness of the line might (but not always) indicate the wire gauge.
- Dashed Line: Often represents a ground connection, or sometimes a shielded wire.
- Circle with a Letter (e.g., "G"): Indicates a ground point. This is where the circuit connects to the vehicle's chassis.
- Rectangle with a Diagonal Line: Represents a resistor.
- Circle with an "X": Represents a light bulb.
- Fuse Symbol: A wavy line inside a rectangle, or sometimes just a rectangle with a number indicating the amperage rating.
- Colors: Wires are typically color-coded in diagrams to match the actual wire colors. Common colors include white, black, brown, yellow, green, red, and blue. Pay close attention to the color coding to ensure you're connecting the wires correctly.
How It Works
The 7-way to 7-way 4-prong splitter essentially takes the signals from the vehicle's 7-way connector and distributes them to both a 7-way and a 4-prong connector. Let's break down how each function is handled:
- Ground (White): The ground wire from the vehicle is connected to both the 7-way and 4-prong ground pins. A solid, reliable ground connection is critical for proper operation.
- Running Lights (Brown): The running light signal is distributed to both the 7-way and 4-prong running light pins.
- Left Turn/Stop (Yellow) & Right Turn/Stop (Green): These signals are also distributed to both connectors. The key here is that the 4-prong connector combines the turn and brake signals into a single wire, while the 7-way keeps them separate.
- Electric Brakes (Blue): This signal is only present on the 7-way connector and will not be active on the 4-prong side.
- 12V+ Auxiliary Power (Black): Again, only available on the 7-way connector. This is used to charge the trailer battery or power accessories on the trailer.
- Reverse Lights (Red): Found only on the 7-way.
The splitter doesn't modify the signals; it simply provides multiple output connections for the same input signals. The key to its functionality is proper wiring and ensuring that each connection is secure and corrosion-free.
Real-World Use - Basic Troubleshooting Tips
Troubleshooting a 7-way to 7-way 4-prong splitter involves checking for common issues. Here's a step-by-step approach:
- Visual Inspection: Start by inspecting the splitter for any signs of damage, such as cracked housings, corroded terminals, or frayed wires.
- Ground Check: Use a multimeter to check the continuity between the ground pin on the vehicle's connector and the vehicle's chassis. A poor ground is a very common cause of lighting problems.
- Voltage Check: With the vehicle running and lights activated, use a multimeter to check for voltage at each pin on the 7-way connector. Compare these readings to the expected values based on the pin assignments.
- Continuity Check: Use a multimeter to check the continuity of each wire between the vehicle's connector and the splitter's connectors. This will help you identify any broken wires.
- Load Test: If you suspect a weak connection, use a load tester (a device that simulates a light bulb) to test each circuit. A voltage drop under load indicates a poor connection.
- Isolate the Problem: If you have lighting problems on the trailer, try connecting the trailer directly to the vehicle's connector without the splitter. If the lights work correctly, the splitter is likely the problem. If the lights still don't work, the problem is on the trailer or in the vehicle's wiring.
Safety – Highlight Risky Components
Working with vehicle electrical systems can be dangerous if proper precautions aren't taken. Here are some key safety considerations:
- Disconnect the Battery: Always disconnect the negative terminal of the vehicle's battery before working on the electrical system. This will prevent accidental short circuits and potential injuries.
- Proper Fusing: Ensure that all circuits are properly fused to protect against overloads and short circuits. Use the correct amperage rating for each fuse. Too low and the fuse will blow repeatedly; too high and the circuit could overheat and cause a fire.
- Wire Gauge: Use the correct wire gauge for each circuit. Undersized wires can overheat and cause a fire. Consult a wiring chart to determine the appropriate wire gauge for the current load.
- Secure Connections: Make sure all connections are secure and corrosion-free. Loose or corroded connections can cause voltage drops, overheating, and even fires. Use dielectric grease on all electrical connections to prevent corrosion.
- Avoid Water: Never work on the electrical system in wet conditions. Water can conduct electricity and create a shock hazard.
- Consult a Professional: If you're not comfortable working on the electrical system, or if you're unsure about something, consult a qualified mechanic or electrician.
- Brake Circuits: Special Note - The electric brake circuit is one of the most crucial safety components. Ensure this circuit is always functioning correctly. Test the brake controller frequently. A malfunction in this circuit can have disastrous consequences.
By following these safety precautions, you can minimize the risk of accidents and ensure that your electrical repairs are done safely and correctly.
Remember to double-check your connections and consult the wiring diagram specific to your vehicle and trailer for the most accurate information. Working with vehicle electrics requires patience and attention to detail.
We have a detailed wiring diagram available for download to assist you further. Please note this is a general diagram, and specific applications may vary. Always verify wire colors and pin locations before making any connections.